19 Smart Kids Closet Organization Ideas That Make Mornings Easier
A child’s closet can look tidy one afternoon and become a jumble by breakfast. The problem is rarely a lack of containers. Usually, the setup asks children to reach too high, remember too many categories, or fold with adult-level precision.
Good closet organization should simplify dressing, laundry, and school mornings. These practical ideas create a system children can understand and parents can maintain without a full reset every weekend.
1. Build a Child-Height Dressing Zone
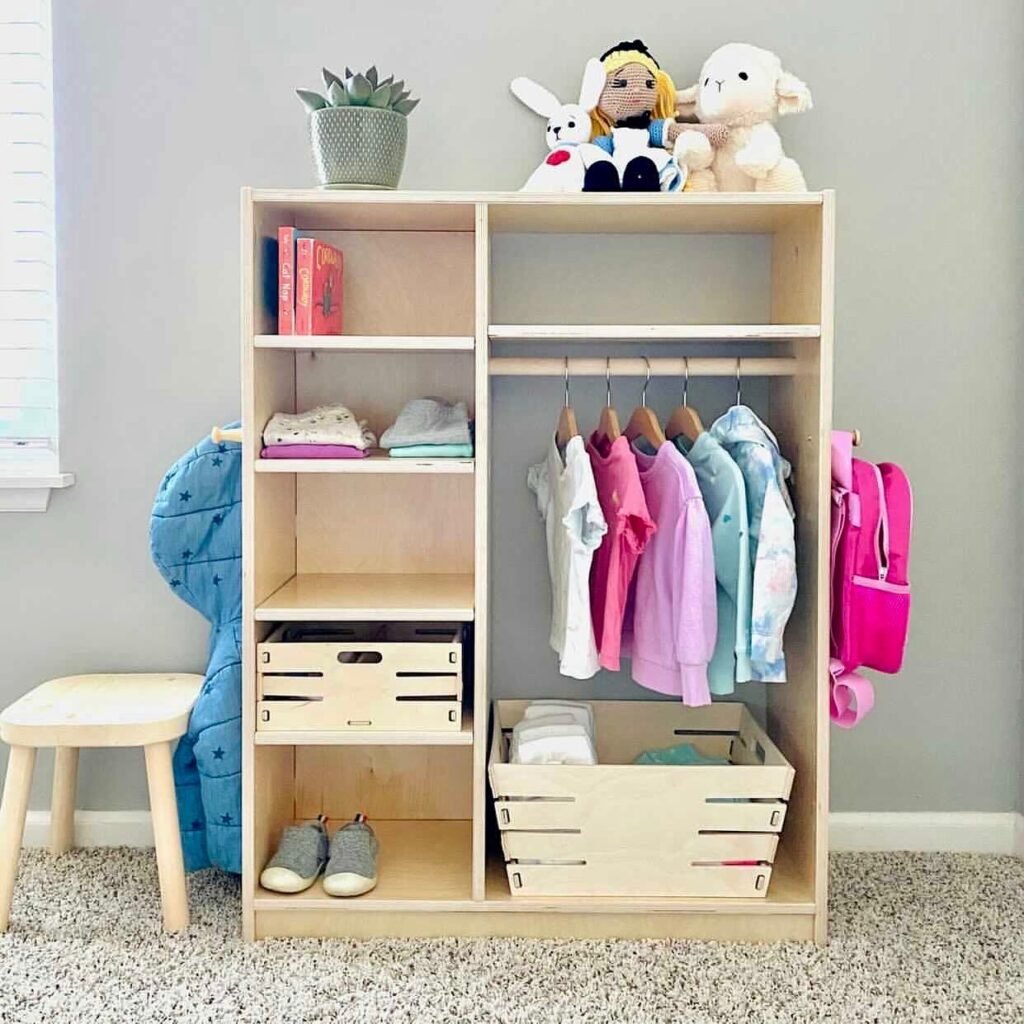
Place everyday shirts, bottoms, pajamas, and shoes where your child can reach them safely. A low rod, short drawer unit, or open shelf lets children choose clothes and return clean items independently. Keep occasional outfits higher.
Start with the categories used most often. Too many choices can create more mess, especially for younger children. Once the setup works, add one category at a time and see whether your child can use it without help.
Quick tip: Watch your child choose an outfit and put it away without help. Anything they cannot comfortably reach should be moved lower. Keep daily clothes accessible and reserve the upper shelves for seasonal or adult-managed items.
2. Organize Around the Daily Routine
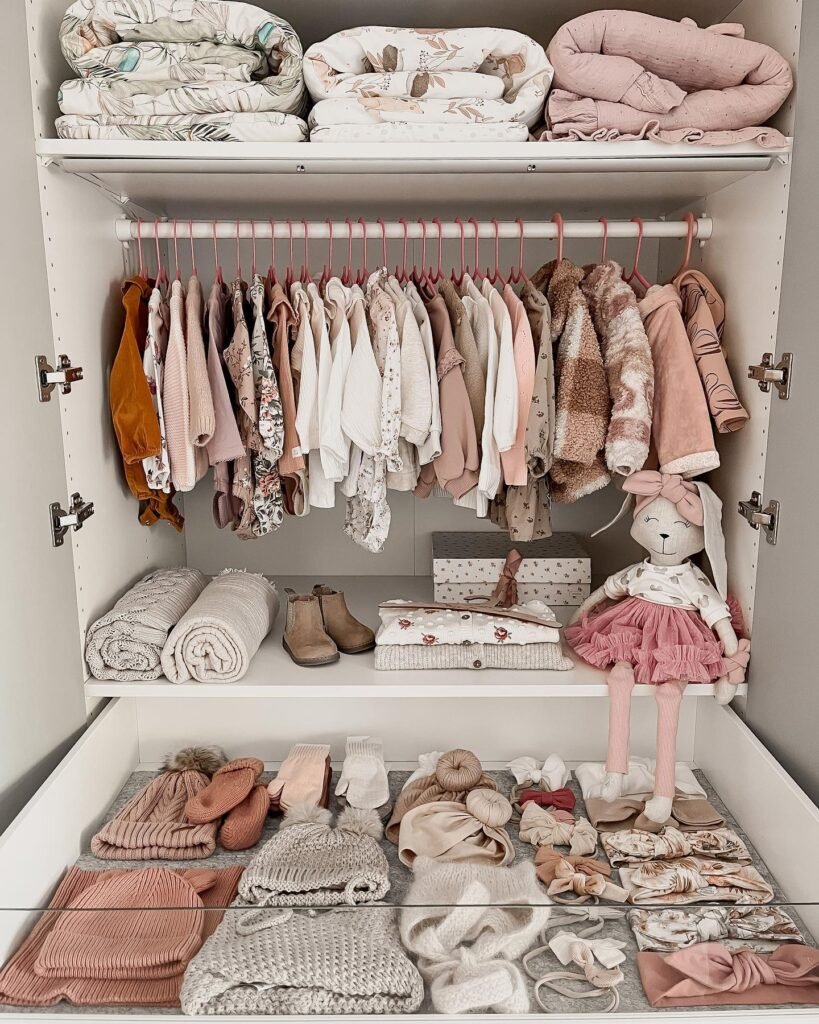
Create zones that match the day, not only clothing type. Keep school uniforms together, sportswear in one section, weekend clothes nearby, and outdoor layers near the door. This reduces searching during rushed mornings.
The same approach works when you organize a coat closet like a pro. Put frequently used items in easy spots, then move special-event and off-season pieces higher or farther back.
Practical note: Arrange clothing in the order your child gets dressed. Place underwear and socks first, followed by tops, bottoms, and accessories. A routine-based layout can reduce searching and make busy school mornings feel much calmer.
3. Prepare a Five-Day Outfit Row
Choose five complete outfits at the start of the week and group them from Monday through Friday. Use labeled hangers, shelf sections, or fabric slots. Include socks or accessories when possible.
This habit reduces morning decisions and keeps children from pulling several stacks apart. Let older children help choose Sunday outfits. They gain control while you check the weather, school activities, and laundry needs.
Quick tip: Check the weekly weather and school calendar before preparing outfits. Include sportswear, uniform pieces, or special-event clothing on the correct day. Leave one backup outfit nearby in case the weather or schedule changes unexpectedly.
4. Install Storage That Can Grow
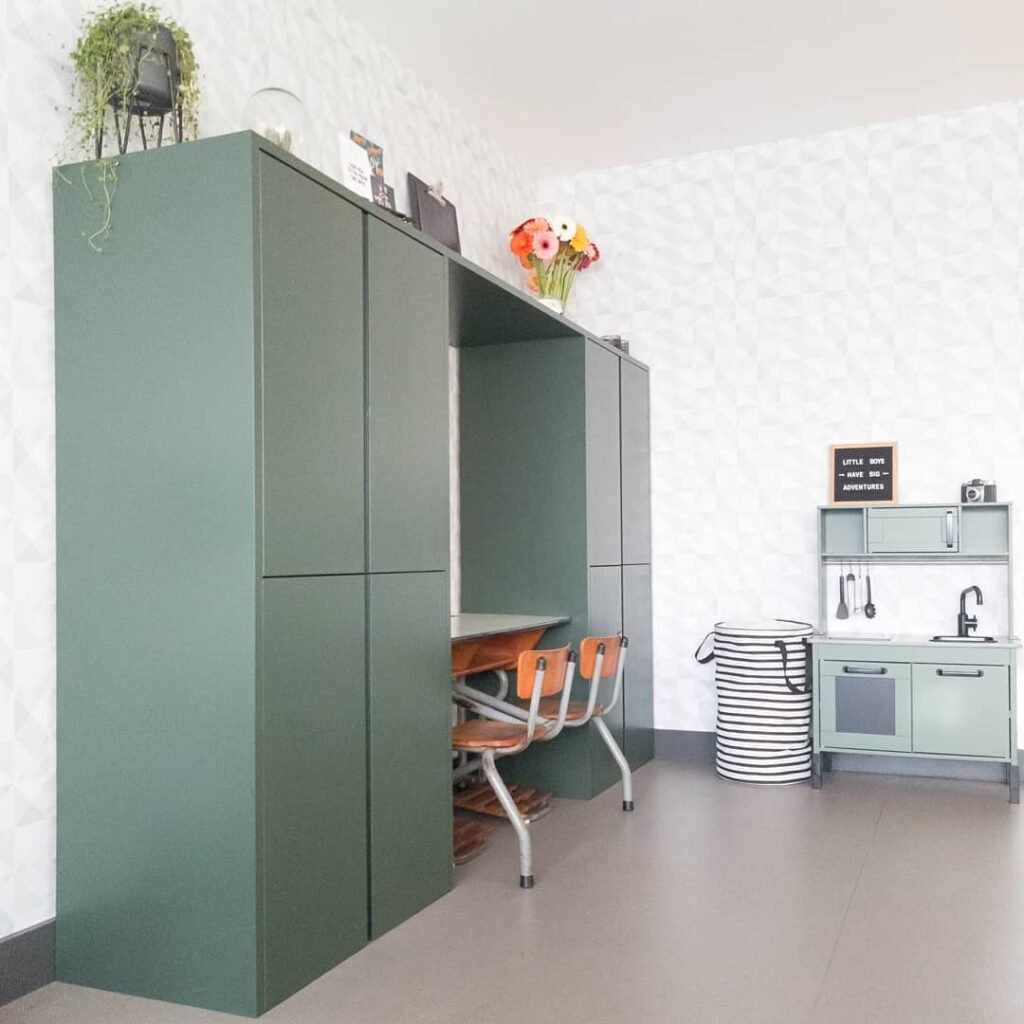
Children’s clothes change size quickly, so fixed storage can become inconvenient. Choose adjustable rods, movable shelves, and stackable units. A low rail may hold small outfits now, then become a shirt or trouser section later.
This flexibility matters in limited spaces. Many tiny closet organizing hacks use vertical space without crowding the floor. Measure first, then leave room for doors, drawers, and hangers to move.
Practical note: Avoid permanent storage that fits only toddler-sized clothing. Adjustable rods, movable shelves, and stackable drawers can change as clothes become longer and larger. This helps the closet remain useful without requiring a complete makeover every few years.
5. Create a Size-Up Waiting Area
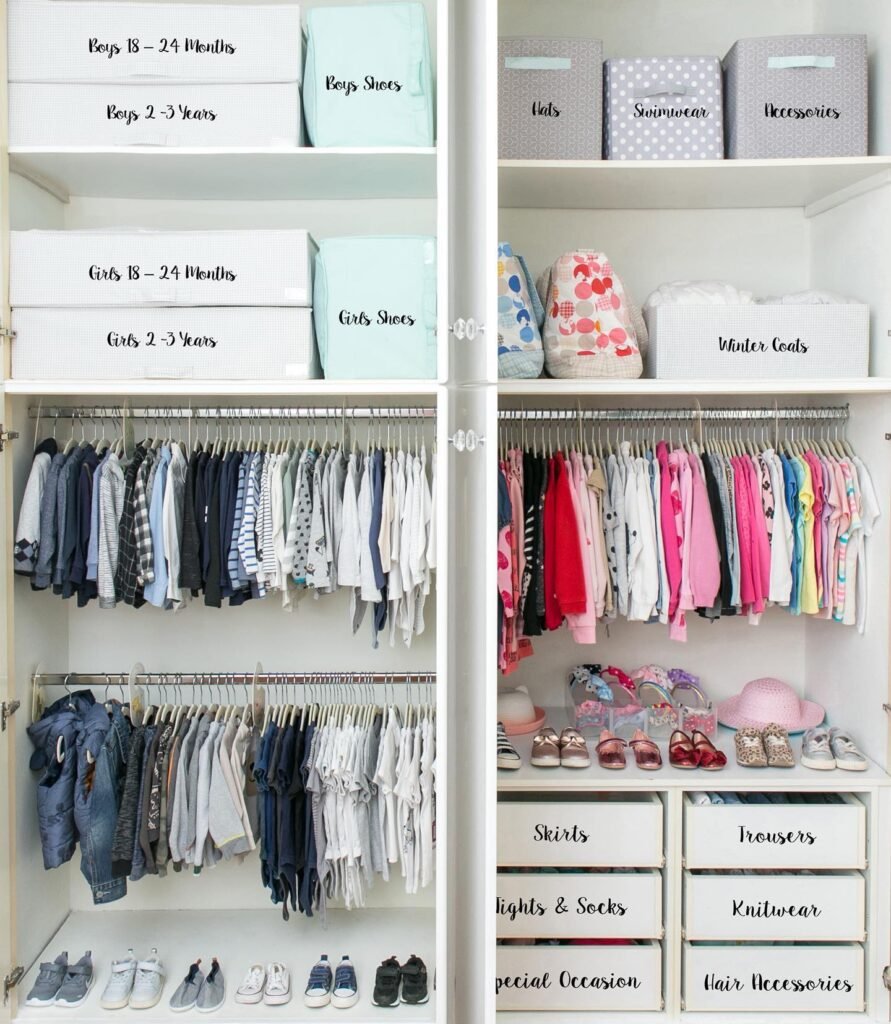
Hand-me-downs and future-size purchases often mix with clothes that fit now. Give them one marked bin or shelf. Sort by size, such as “Next Size” and “Later,” so the right group is easy to find.
Check this area every few months. Move suitable clothes into the active closet and remove anything already outgrown. Limiting the waiting area to one or two containers stops forgotten clothes from taking over everyday storage.
Quick tip: Label future-size containers with both the clothing size and season, such as “Size 7 Winter.” Review the area before buying new clothes so you do not purchase items your child already has waiting in storage.
6. Rotate a Small Seasonal Wardrobe
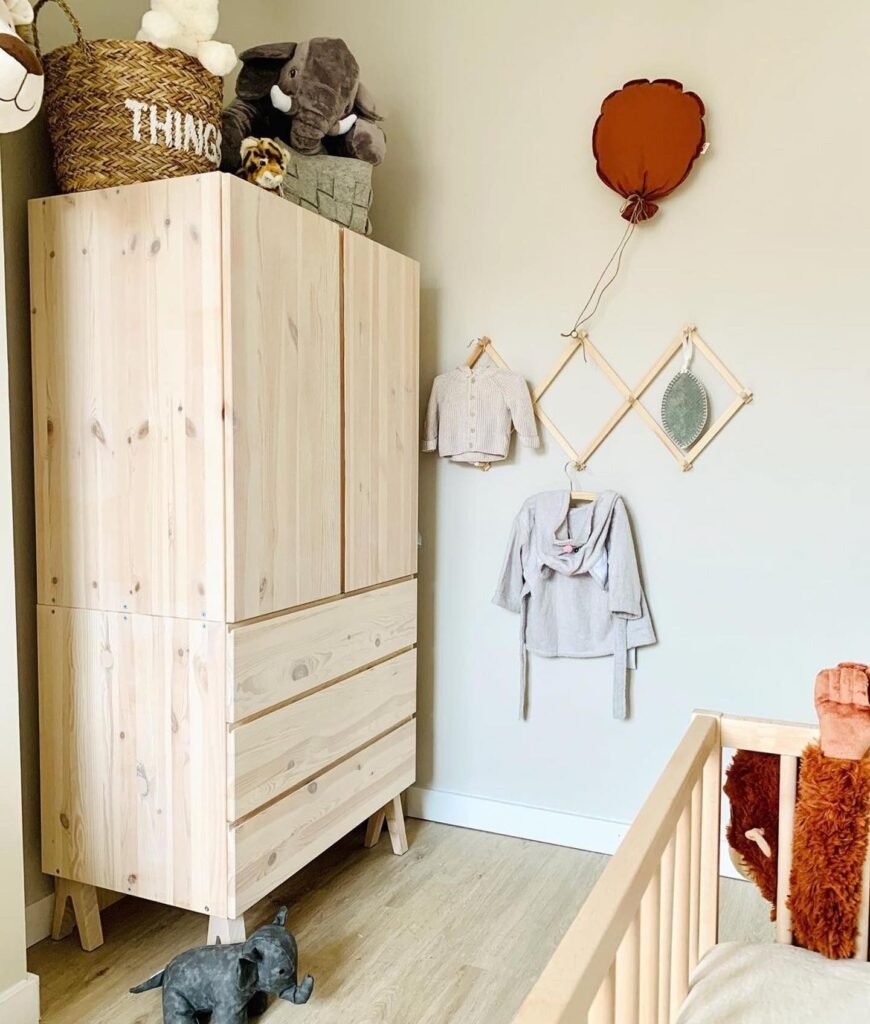
A crowded closet makes every category harder to manage. Keep the current season and a few transitional layers in the active area. Store winter pieces, holiday outfits, or swimwear elsewhere until needed.
A smaller wardrobe helps children see what they own. Before each seasonal change, check fit and condition. Wash stored items, repair worthwhile pieces, and donate what no longer works. This creates space without requiring a larger closet.
Practical note: Keep a few weather-transition pieces available when changing seasons. A light jacket, warm pajamas, or an extra swimsuit may still be useful. Store the rest in clearly marked containers to prevent the everyday closet from becoming overcrowded.
7. Give Each Child a Visual Color
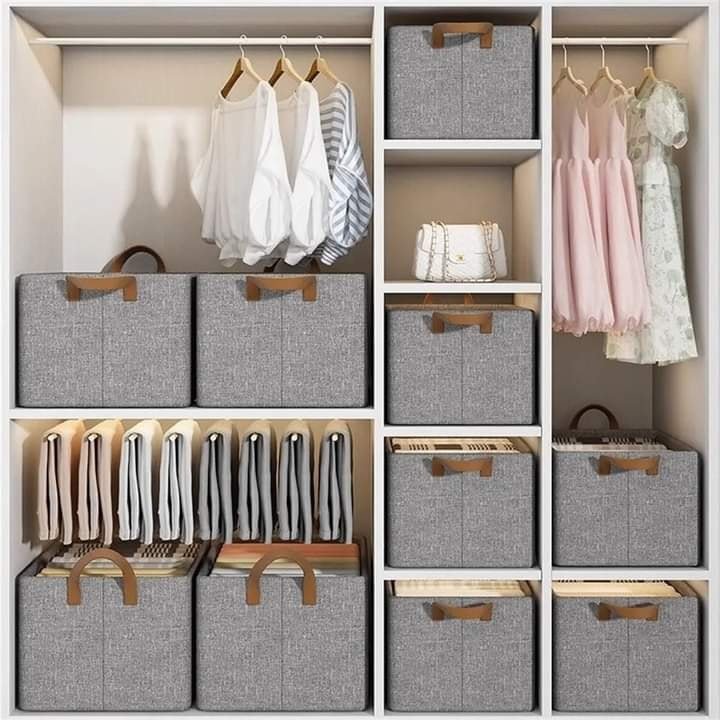
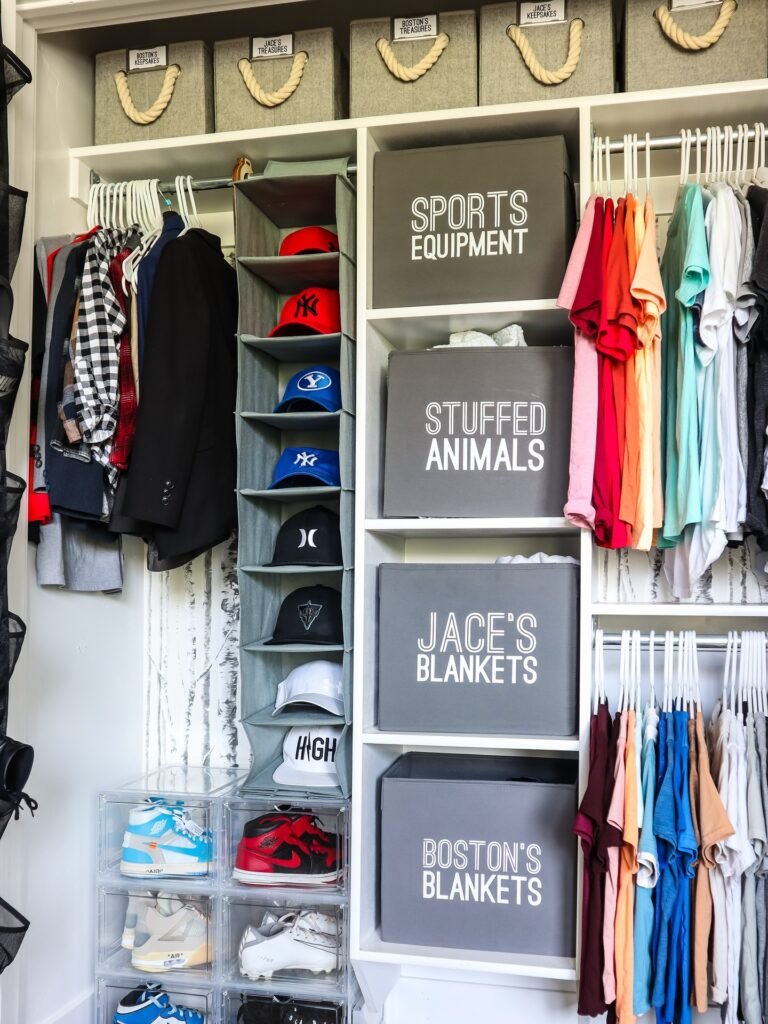
In a shared closet, assign each child a color for labels, hanger markers, shelf edges, or drawer pulls. Color shows ownership before a child can read and helps stop one sibling’s clothing from spreading into another’s space.
Keep shared items in a neutral section. Sports gear, dress-up clothes, and extra blankets can have their own label. The goal is clarity, not decoration, so use the same colors consistently.
Quick tip: Use colored labels, hanger rings, or shelf markers instead of buying entirely different storage sets. The color should appear in several places so each child can quickly recognize where their clothes, shoes, and accessories belong.
8. Use Narrow Side Walls Wisely
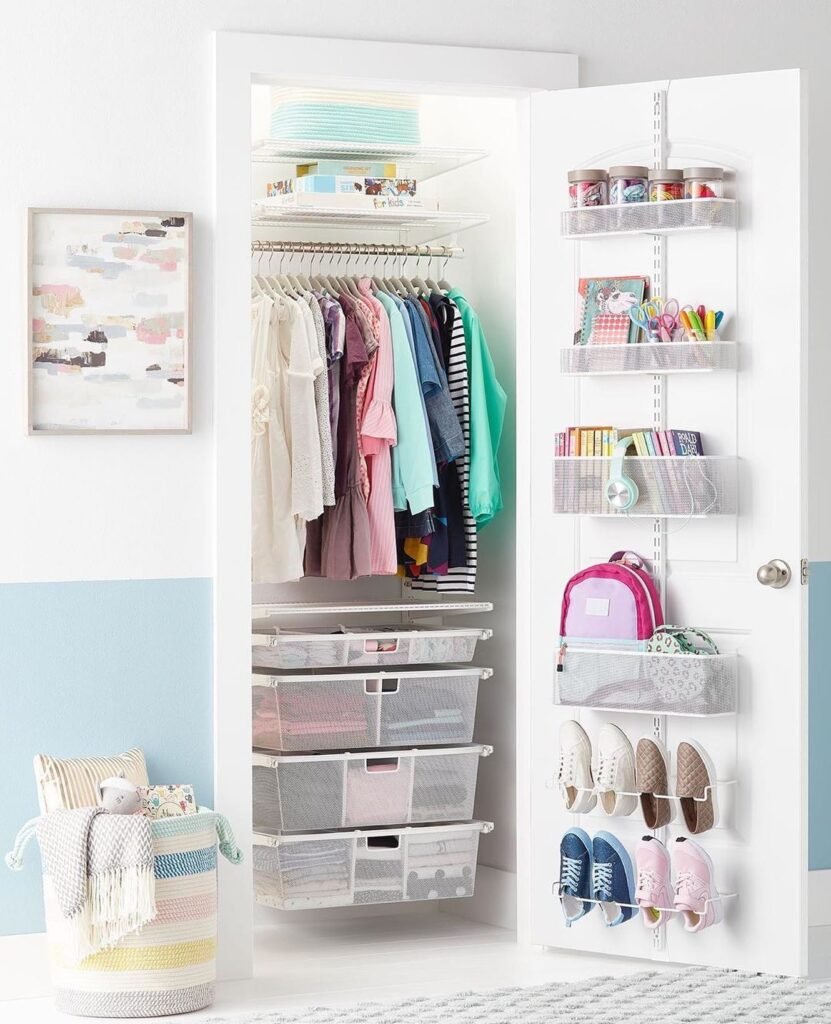
The wall beside a closet door or shelving unit is often overlooked. Add a shallow rail, peg strip, or rounded hooks for backpacks, caps, robes, and tomorrow’s outfit. Space hooks so items do not form one pile.
For more vertical solutions, explore these space-saving closet wall storage ideas. Choose hardware suited to the wall and item weight, then place daily hooks at a comfortable child height.
Safety note: Choose rounded hooks and secure every wall-mounted organizer properly. Place frequently used items at the child’s shoulder height, but keep heavy bags and bulky equipment lower so they cannot fall from above or pull the organizer loose.
9. Add a Clean-Clothes Return Basket
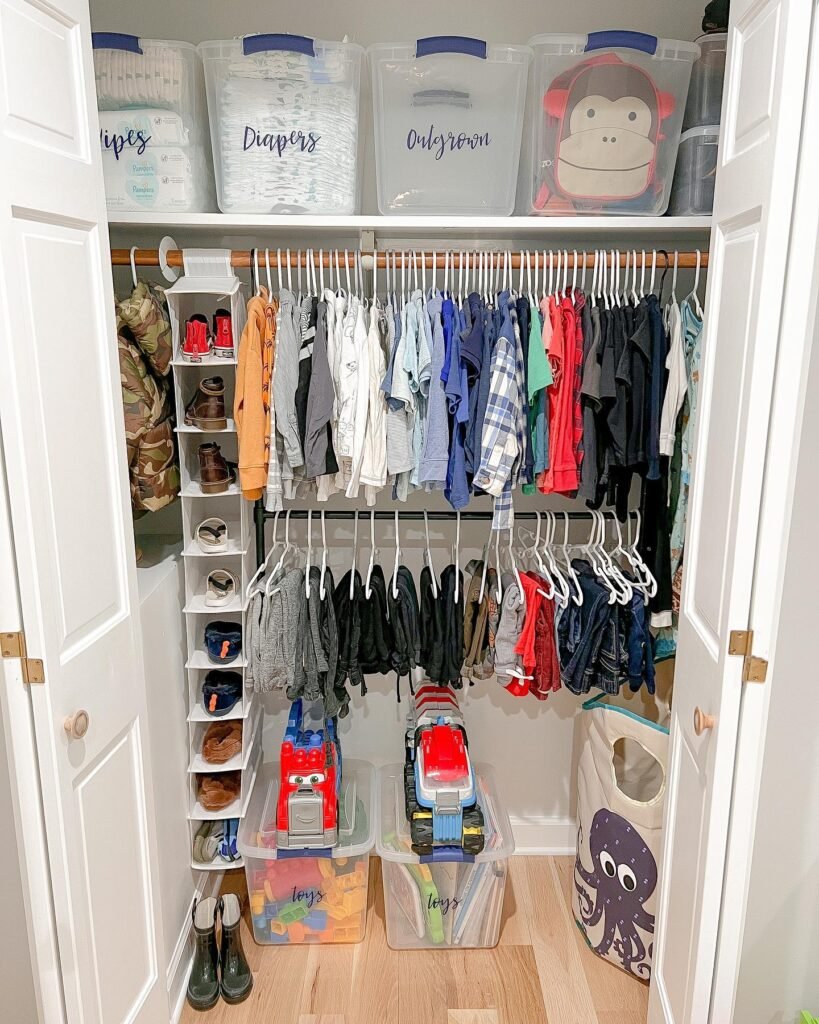
Clean laundry may sit out because the closet system takes too much effort. Place one small basket nearby for folded clothes that need returning. This keeps clean items off the bed and separate from dirty laundry.
Set a simple limit: empty the basket before the next laundry load arrives. Younger children can match categories while an adult handles high shelves. The basket should be a short routine, not a second wardrobe.
Quick tip: Choose a basket small enough to fill quickly. A large basket can become permanent storage, while a smaller one encourages regular emptying. Ask children to return one clothing category at a time instead of handling the entire load.
10. Keep Folded Stacks Short
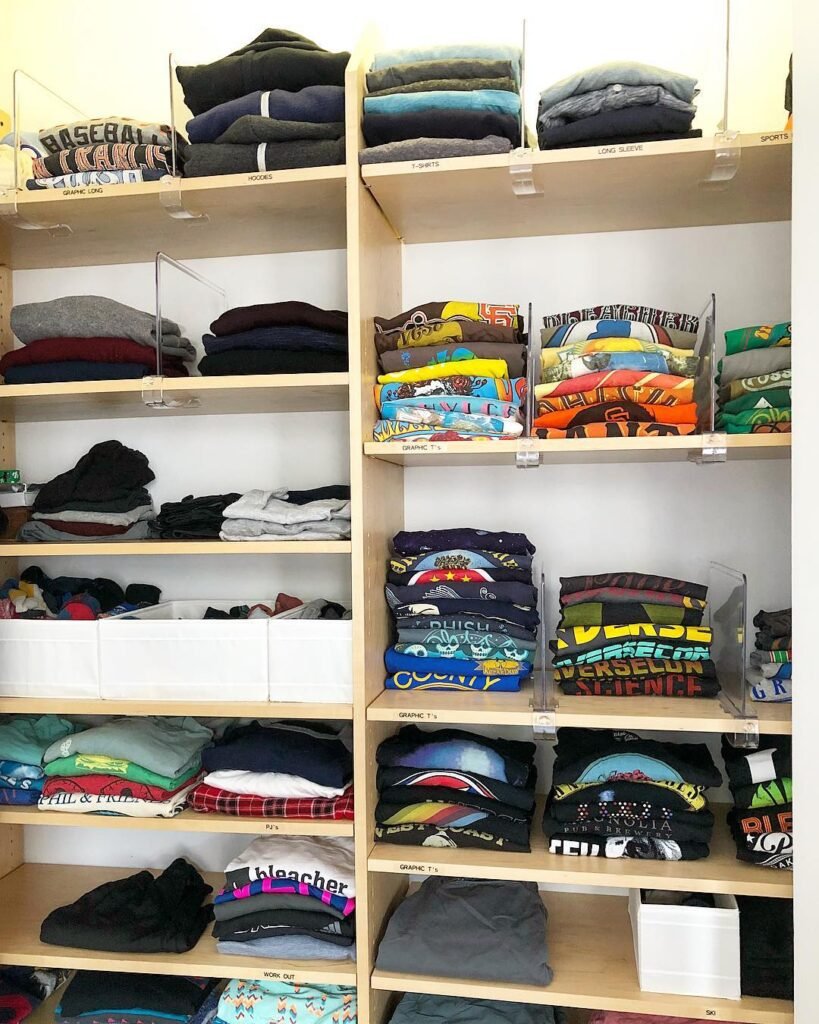
Tall clothing stacks fall over quickly. Use shelf dividers or shallow sections for jeans, sweatshirts, and pajamas. Place the most-used category at waist height and less common items above or below it.
The same logic used in smart linen closet organization works here: limit each stack, group similar shapes, and avoid tight shelves. A child should remove one item without dragging out everything beside it.
Practical note: Limit each stack to four or five items whenever possible. If clothing keeps falling over, divide the shelf into smaller sections or switch that category to a drawer. The easiest system is the one that survives daily use.
11. Clip a Donation Bag Inside
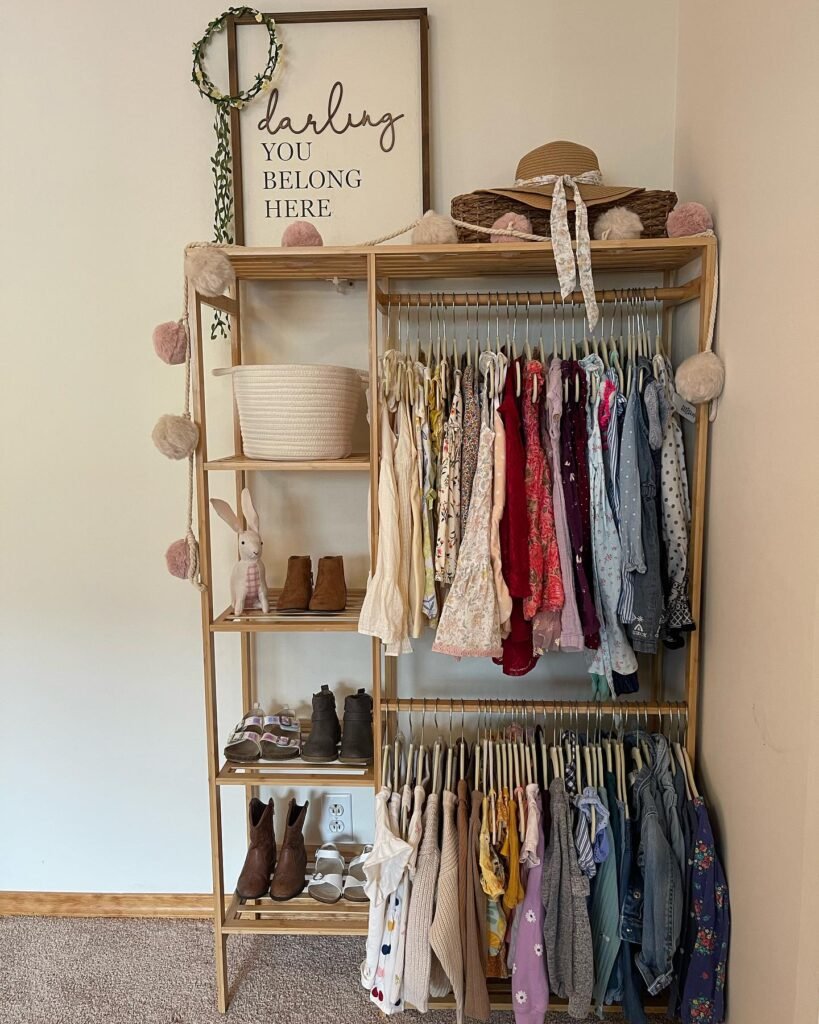
Keep a reusable bag or small hamper inside the closet for clothes that are too small, uncomfortable, or no longer worn. When your child tries on an item that does not work, place it in the bag immediately instead of returning it to the rail.
Review the bag when it fills. Check that nothing was added by mistake, then donate, pass along, recycle, or discard as appropriate. This ongoing method is easier than sorting the entire wardrobe at once and stops outgrown clothing from quietly consuming usable space.
Quick tip: Use separate bags for donating, passing down, and recycling damaged clothing. Clear categories prevent unwanted items from returning to the closet. Review each bag before removing it in case a favorite piece was added accidentally.
12. Make a School-Morning Launch Pad
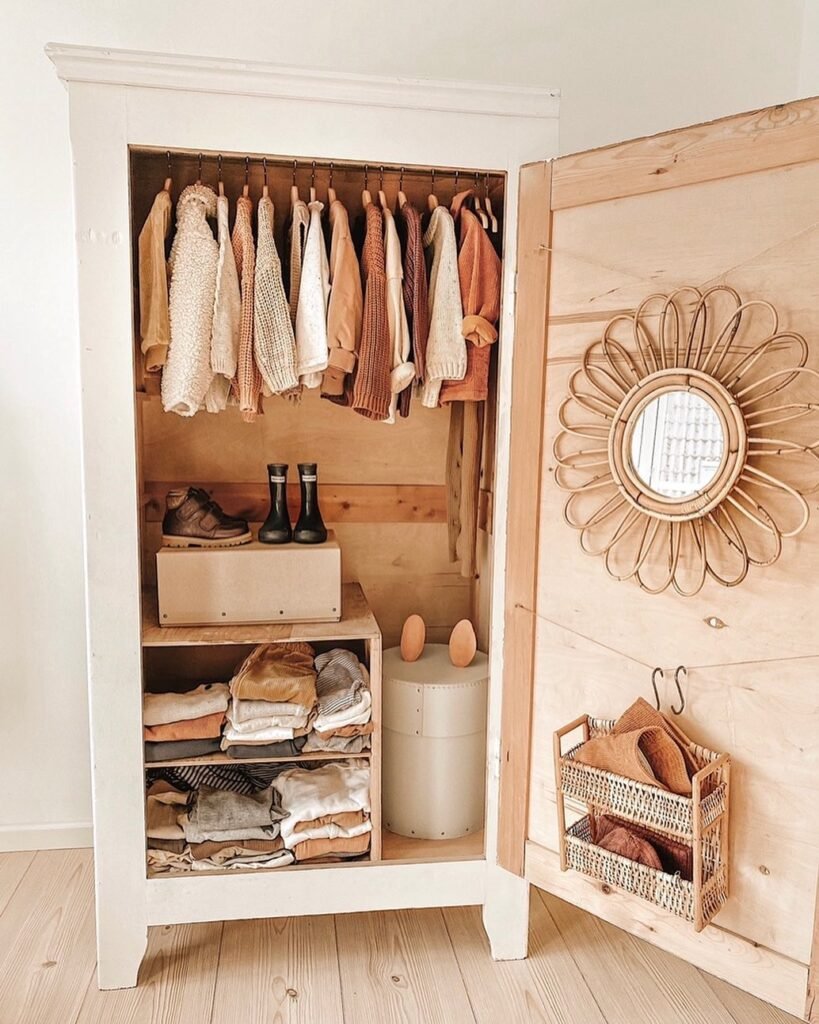
Reserve one small area for the next school day. It can hold a uniform, sweater, belt, hair accessory, and packed activity clothes. Keep the school bag nearby only when the closet has enough floor space and the bag will not block access.
Reset this area each evening. The launch pad works best when it stays limited to tomorrow’s needs rather than becoming a home for unfinished decisions. A narrow hook and one shelf are often enough to prevent several frantic morning searches.
Practical note: Reset the launch pad immediately after dinner or before bedtime. Add the next outfit, activity clothes, and any accessories needed for school. Keeping this area limited to one day prevents it from becoming another cluttered storage zone.
13. Use Hanger Limits to Control Volume
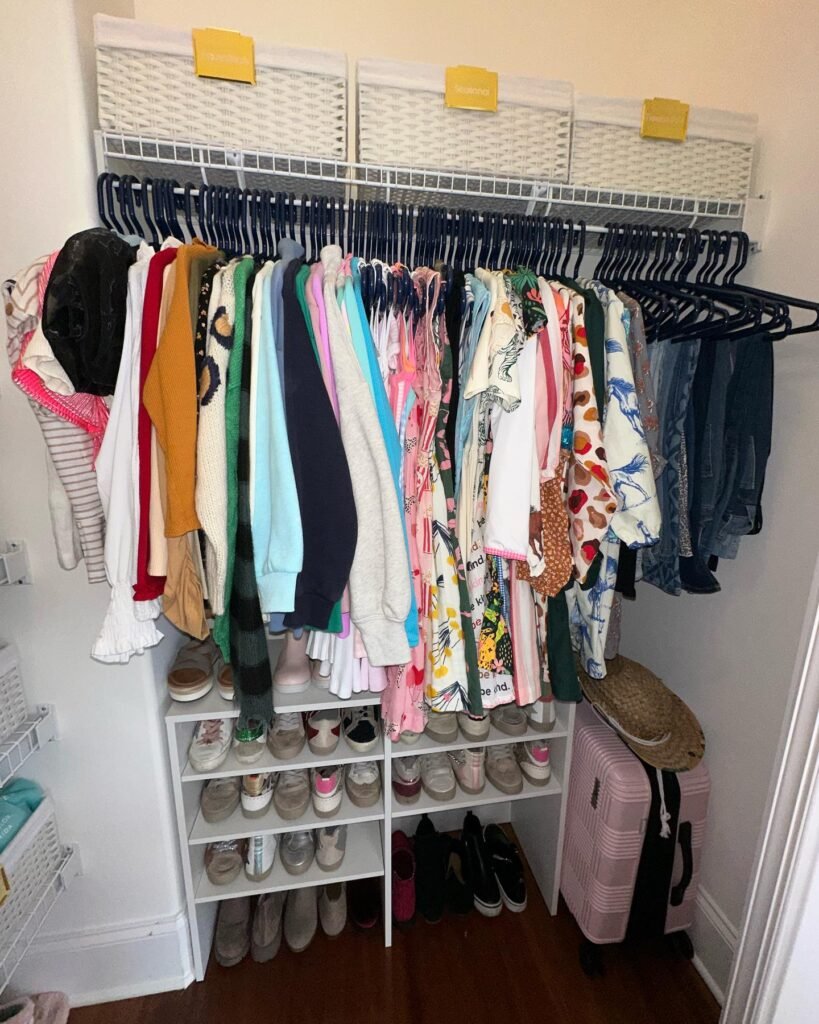
Decide how many hangers comfortably fit on each rail while still sliding easily. That number becomes the closet’s natural limit. When all hangers are occupied, something must be moved, donated, or stored before another hanging item is added.
This method works better than packing the rod tightly and hoping it stays organized. Use one hanger style so clothing hangs evenly and visual clutter is reduced. Keep a few empty hangers together rather than scattering them between clothes.
Quick tip: Leave enough space between clothes to slide hangers easily. When the rod becomes difficult to use, remove several pieces for storage or donation. A visible limit makes overcrowding easier to notice before the closet becomes unmanageable
14. Store Shoes in Ready-to-Wear Pairs
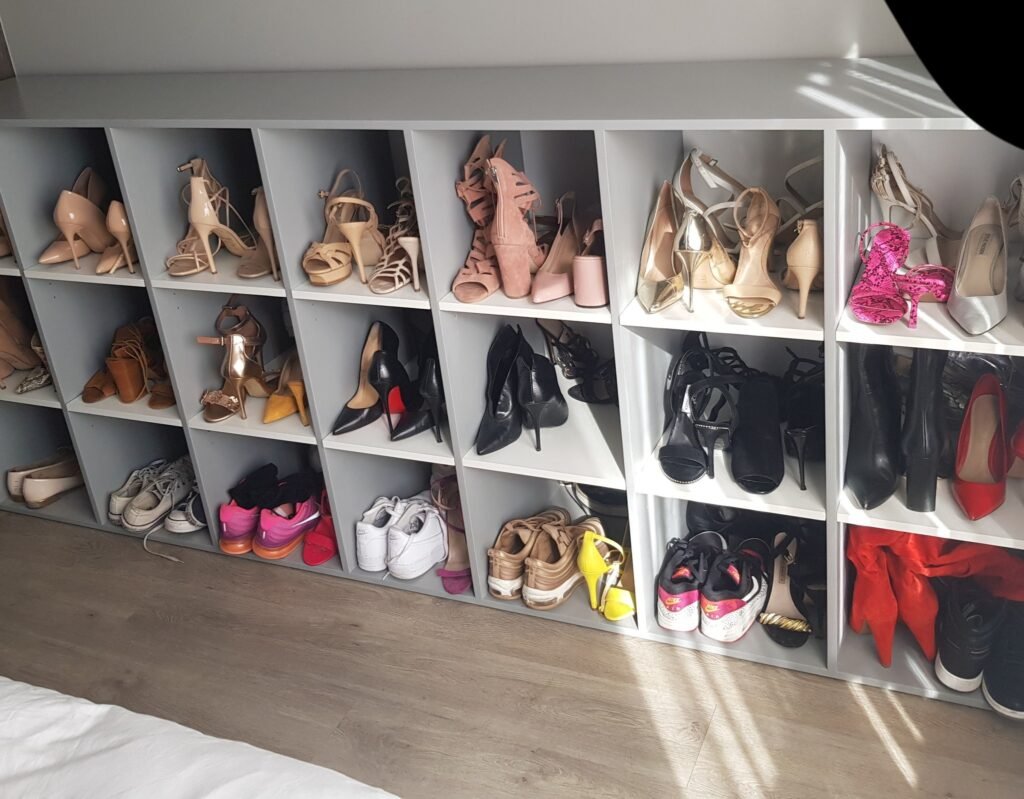
Keep shoes paired and facing the same direction on a low shelf, tray, or divided floor section. Daily shoes should be easiest to reach, while formal or seasonal pairs can sit farther back. Remove empty boxes unless they serve a clear storage purpose.
Teach children to return both shoes together. A small floor marker or labeled space can help younger kids remember where each pair belongs. Leave a little open room for wet or muddy shoes to dry before they rejoin the main closet.
Practical note: Place everyday shoes closest to the closet entrance and special pairs farther back. Add a washable tray for muddy or wet footwear. Keeping shoes paired and visible prevents rushed searches for a missing sneaker before school.
15. Display Small Accessories Clearly
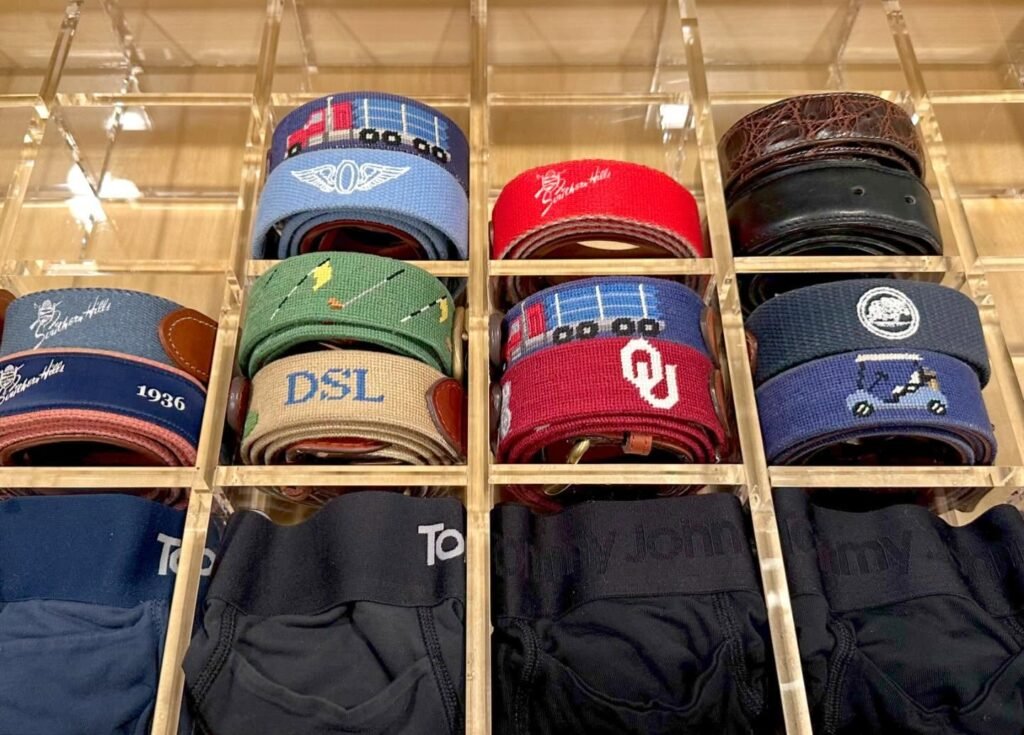
Hair ties, belts, ties, and jewelry are easy to lose in deep containers. Use shallow trays, small cups, soft loops, or a compact hanging panel so each group remains visible. Keep the display simple enough that returning an item takes only a few seconds.
Avoid placing every accessory on view. Store special pieces in a higher, closed container and leave everyday choices accessible. This reduces tangles and helps children finish getting ready without emptying a drawer to find one small item.
Quick tip: Group accessories by how they are used instead of by color. Keep school hair items together, sports accessories in another section, and special pieces separate. This makes it easier to select what is needed without searching through every container.
16. Reserve the Top Shelf for Adult-Controlled Storage
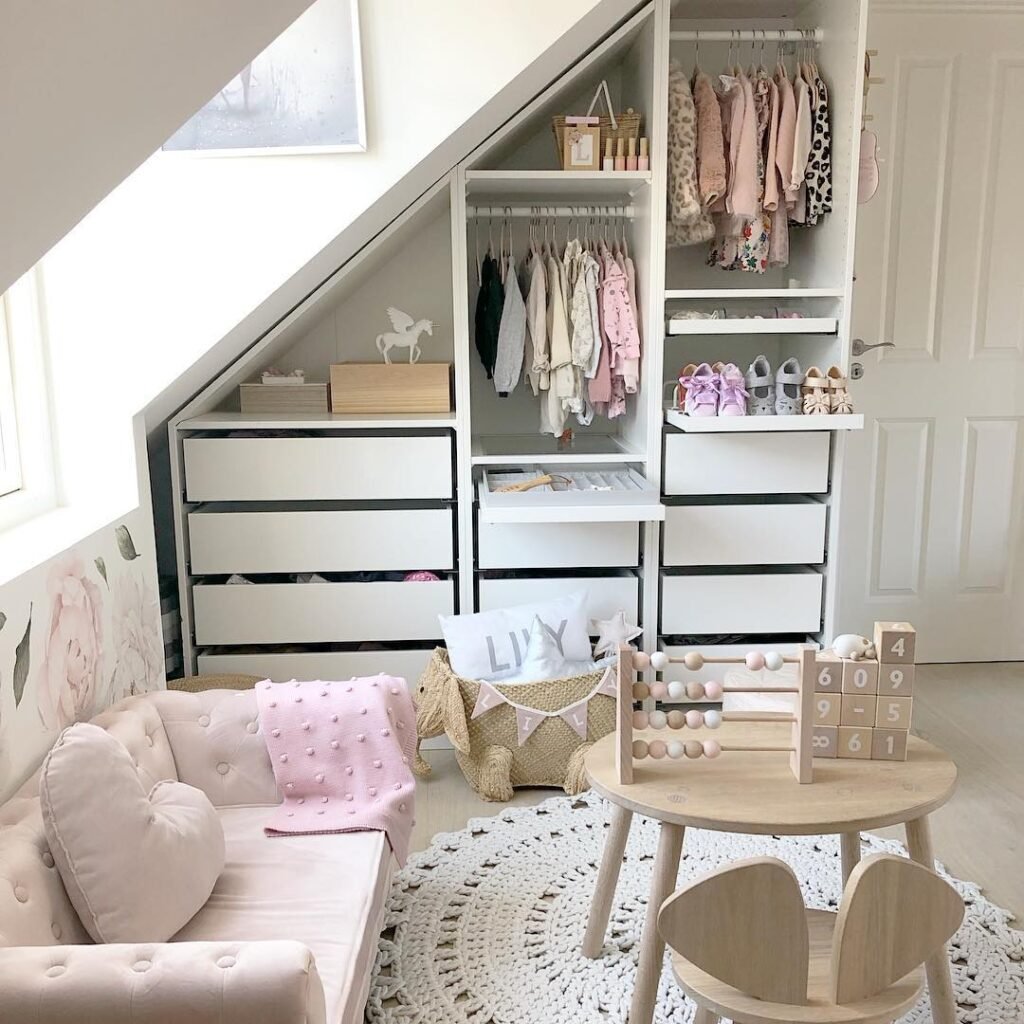
The highest shelf should hold items children do not need daily, such as keepsake clothing, future sizes, travel bags, or special-occasion outfits. Use lightweight containers with clear labels, and avoid overfilling anything that must be lifted overhead.
Do not store frequently used items in this zone simply because space is available. Repeatedly reaching up will make the system frustrating. Review the top shelf twice a year so it does not become a forgotten collection of clothes, boxes, and unrelated household items.
Safety note: Use lightweight containers with secure lids on high shelves. Avoid storing glass objects, heavy equipment, or overfilled boxes overhead. Place a clear label on the front so adults can identify the contents without repeatedly lifting each container down.
17. Use Labels Children Can Understand
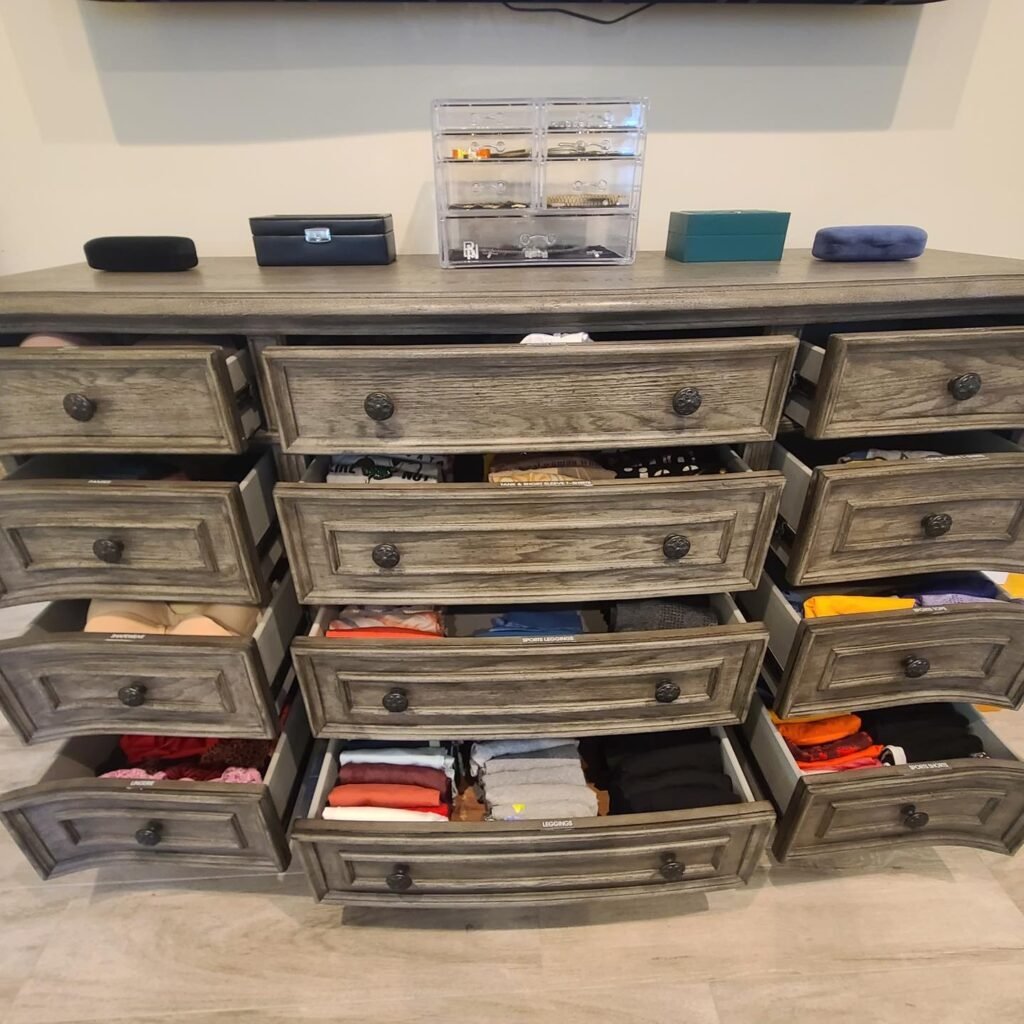
Labels are useful only when the child recognizes them. Combine simple words with small pictures for categories such as shirts, socks, sleepwear, and sports clothes. Place labels on the exact shelf, drawer, or container where the category belongs.
As reading skills improve, remove the pictures or let your child rewrite the labels. This gives the system a sense of ownership. Avoid creating too many narrow categories, since children are more likely to maintain five clear groups than fifteen confusing ones.
Quick tip: Take simple photos of clothing categories and print them as labels for younger children. As reading improves, add the category name below each picture. This allows the same organization system to grow with the child’s skills.
18. Schedule a Ten-Minute Weekly Reset
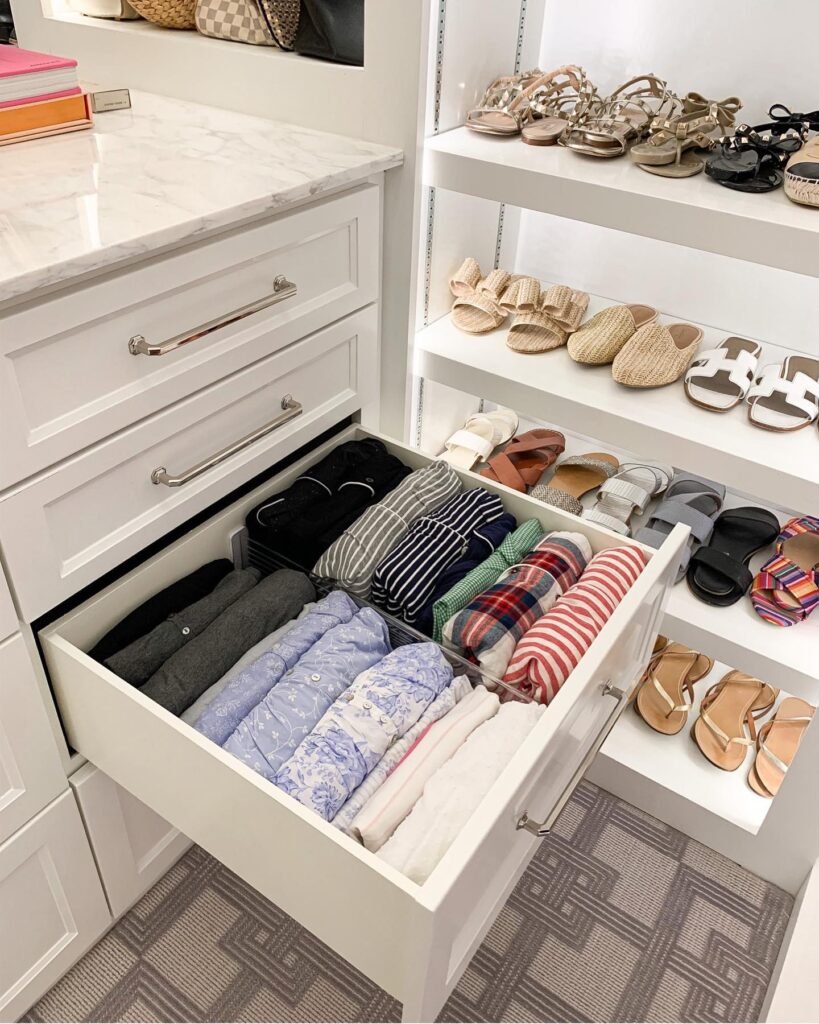
Pick one predictable time each week for a quick closet reset. Return stray hangers, pair shoes, empty the clean-clothes basket, and move dirty items to the hamper. Stop after ten minutes instead of turning the task into a long cleaning session.
A short reset prevents small problems from becoming a full afternoon project. Let children choose one job while an adult handles decisions about fit or storage. Consistency matters more than perfection, and a closet that works at 80 percent is easier to maintain than a showroom-style system.
Practical note: Use a timer and stop when ten minutes have passed. Focus on the most visible problems first, such as loose clothes, unmatched shoes, and empty hangers. A short weekly habit is easier to maintain than an occasional major cleanout
19. Teach One Simple Closet Rule
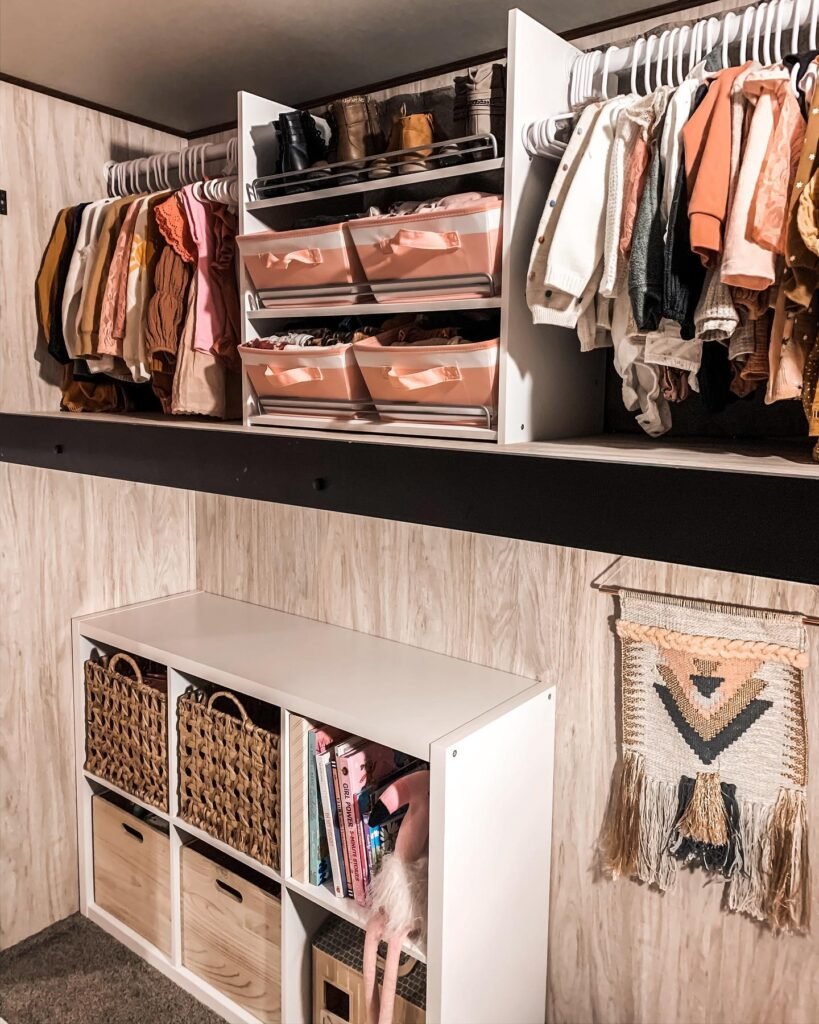
Choose one rule that supports the whole system. It might be “one item out, one item back,” “dirty clothes go straight to the hamper,” or “shoes return as a pair.” Practice that rule until it becomes automatic before adding another expectation.
Children are more likely to follow a clear habit than a long list of instructions. Praise the action you want repeated and adjust the closet when the rule feels too difficult. A successful system fits the child’s current abilities and becomes more detailed as those abilities grow.
Quick tip: Display the chosen rule inside the closet using a short sentence or picture. Practice it together for several days before expecting consistency. Once the habit becomes automatic, introduce one additional rule rather than changing the whole routine at once.
FAQs
How often should I reorganize a child’s closet?
Do a quick reset once a week and a deeper review every season. Seasonal reviews are the best time to check fit, remove damaged clothes, and rotate weather-appropriate pieces. Growing children may need size checks more often.
What is the best closet setup for a young child?
Keep everyday clothing between knee and shoulder height, with simple categories and easy-open storage. Use low rods, shallow bins, and picture labels. Parent-controlled or occasional items can stay on the upper shelf.
How can I organize a small kids closet without buying much?
Start by removing outgrown items and limiting the active wardrobe. Reuse sturdy boxes, existing baskets, and a few safe hooks. Better placement and fewer categories usually make a bigger difference than purchasing a full organizer system.