13 Smart Craft Closet Organize Ideas for a Calmer Creative Space
A craft closet should make creativity easier. When paper, paint, fabric, tools, and unfinished projects share one small space, clutter builds quickly.
This Craft Closet organize guide helps you see what you own, reach what you use, and put supplies away without a long cleanup. You do not need an expensive renovation. A clear plan and simple routines can turn even a narrow closet into a useful creative station.
1. Empty the Closet and Create a Simple Floor Plan
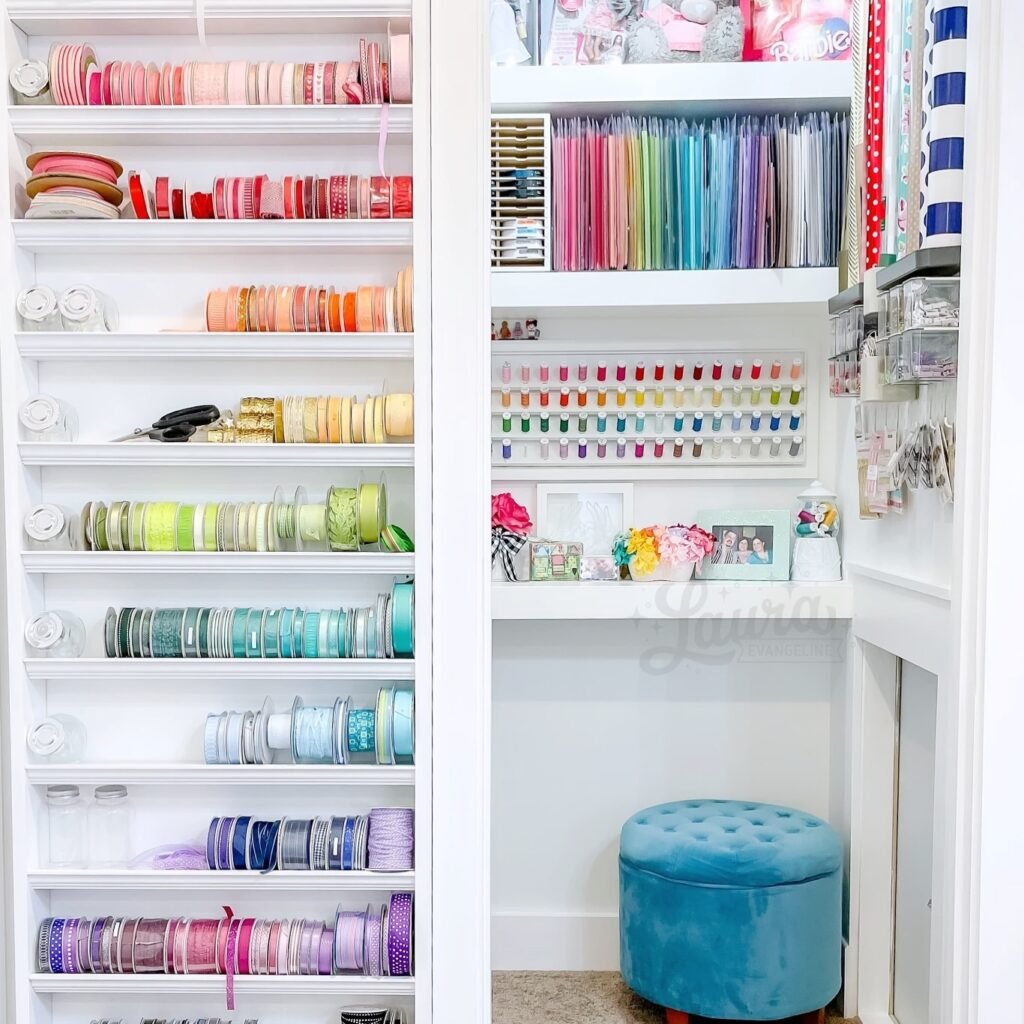
Take everything out before buying containers. Sort supplies on a table or the floor, then measure the closet’s width, depth, shelf height, and door clearance before you begin. This first step reveals awkward gaps, overloaded shelves, and storage pieces that no longer suit your hobbies.
Sketch a rough plan showing where tall items, drawers, shelves, and portable bins could fit. Small closets benefit from careful planning, so these tiny closet organizing hacks can help you think beyond the standard shelf-and-rod layout.
Before organizing: Measure the closet’s width, depth, shelf height, and door clearance. Record the measurements on your phone so you can check container sizes while shopping and avoid buying storage that blocks the door or wastes space..
2. Group Supplies by the Way You Actually Craft
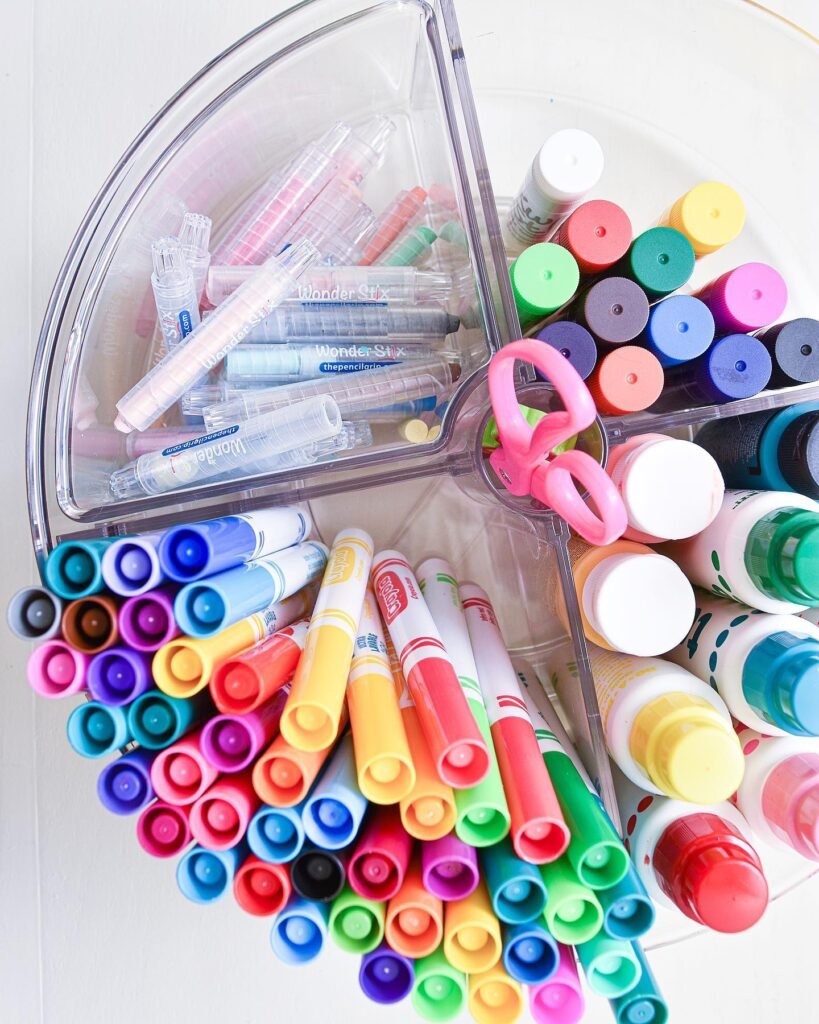
Instead of sorting every item only by material, group supplies around real activities. Create zones for sewing, paper crafts, painting, gift wrapping, jewelry making, or children’s projects. This makes it easier to begin a project because related tools and materials stay together.
Keep shared items, such as scissors, rulers, glue, and pencils, in a central section. Avoid splitting one category across several shelves unless you separate everyday supplies from refills. The goal is to make each project type easy to start and equally easy to pack away.
Quick tip: Use temporary sticky-note labels for each craft zone during the first week. Move categories around as you work until paper crafts, sewing tools, paints, and shared supplies sit where they feel most natural to reach.
3. Give Eye-Level Space to Your Most-Used Supplies
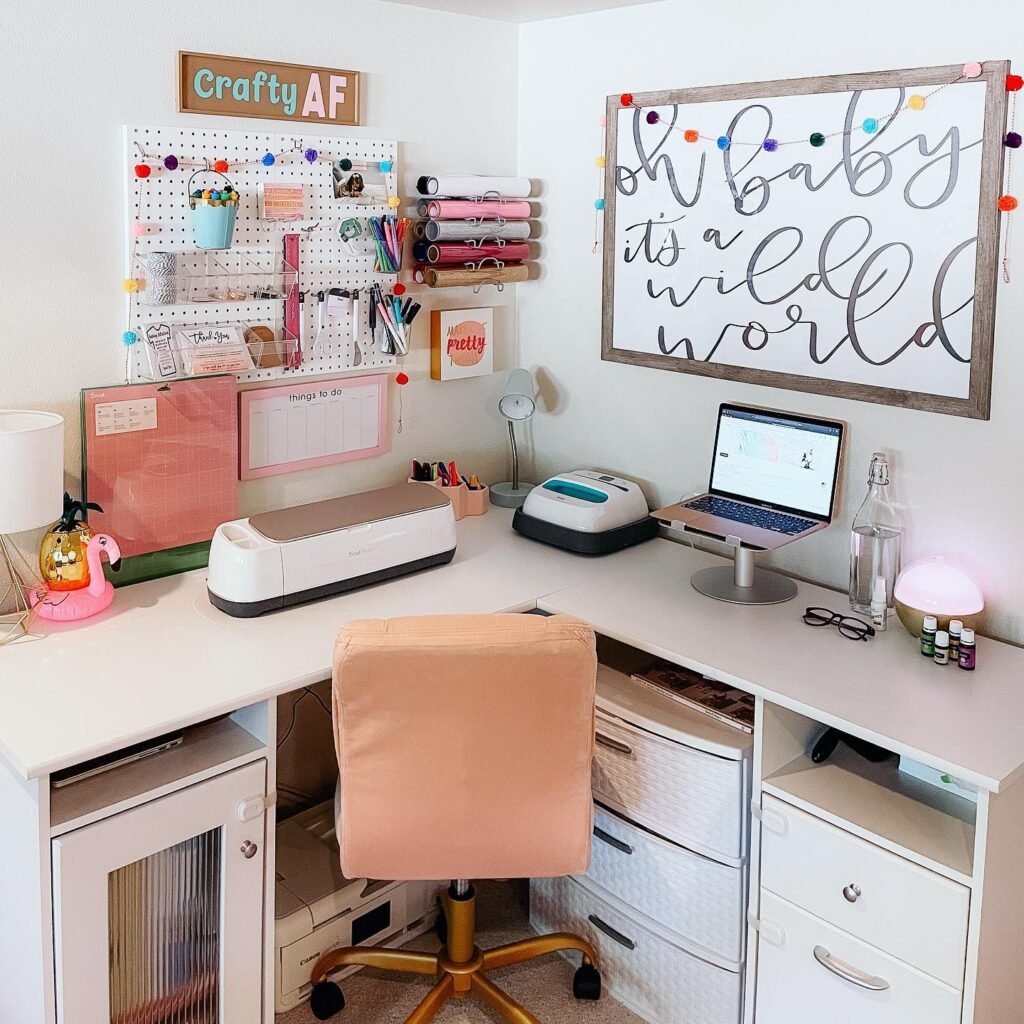
The middle shelves are the easiest to reach and safest to handle, so reserve them for items you use every week. Everyday paint, cutting tools, adhesives, sketchbooks, and current materials should not be hidden behind holiday supplies or large storage boxes.
Use lower shelves for heavier containers and upper shelves for light, occasional items. If the closet has unused side walls, borrow ideas from these closet wall storage solutions to add narrow shelves or holders without crowding the center.
Use this shelf order:
- Everyday supplies at eye level
- Heavy boxes on lower shelves
- Seasonal materials on upper shelves
- Children’s supplies within safe reach
This arrangement makes frequently used items easier to access while keeping the closet safer.
4. Use Shallow Trays for Small Tools and Loose Pieces
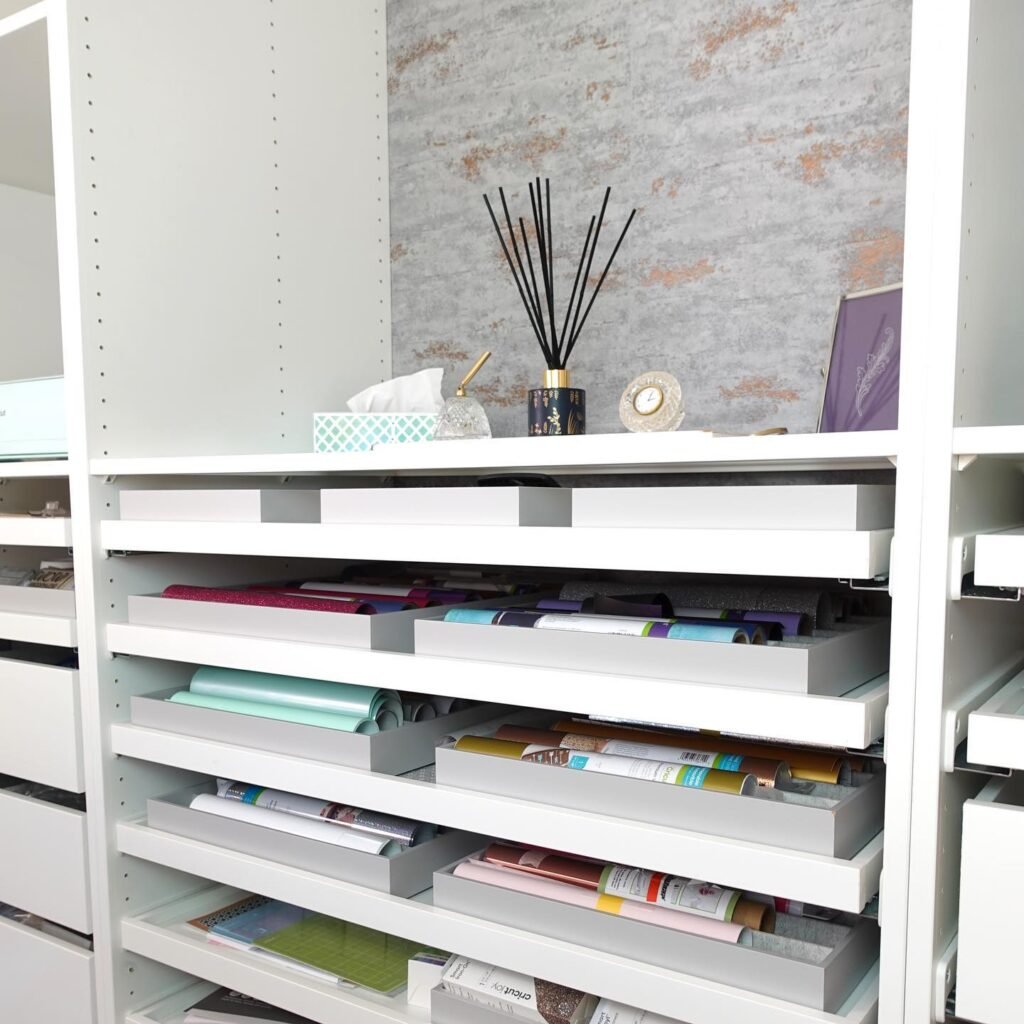
Deep bins often become mixed piles where beads, blades, punches, clips, and glue sticks disappear. Shallow trays keep small items in a single visible layer, making it easier to find one tool without emptying the entire container.
Choose trays that slide out smoothly and leave enough room for your fingers. Drawer dividers, cutlery trays, and small photo boxes can work well. Keep similar pieces together, but avoid making categories so narrow that putting supplies away feels like a sorting job.
Practical note: Choose trays that allow small supplies to sit in one visible layer. Deep containers may hold more, but they often hide beads, clips, blades, glue sticks, and other pieces beneath a mixed pile.
5. Store Paper, Vinyl, and Cutting Mats Vertically
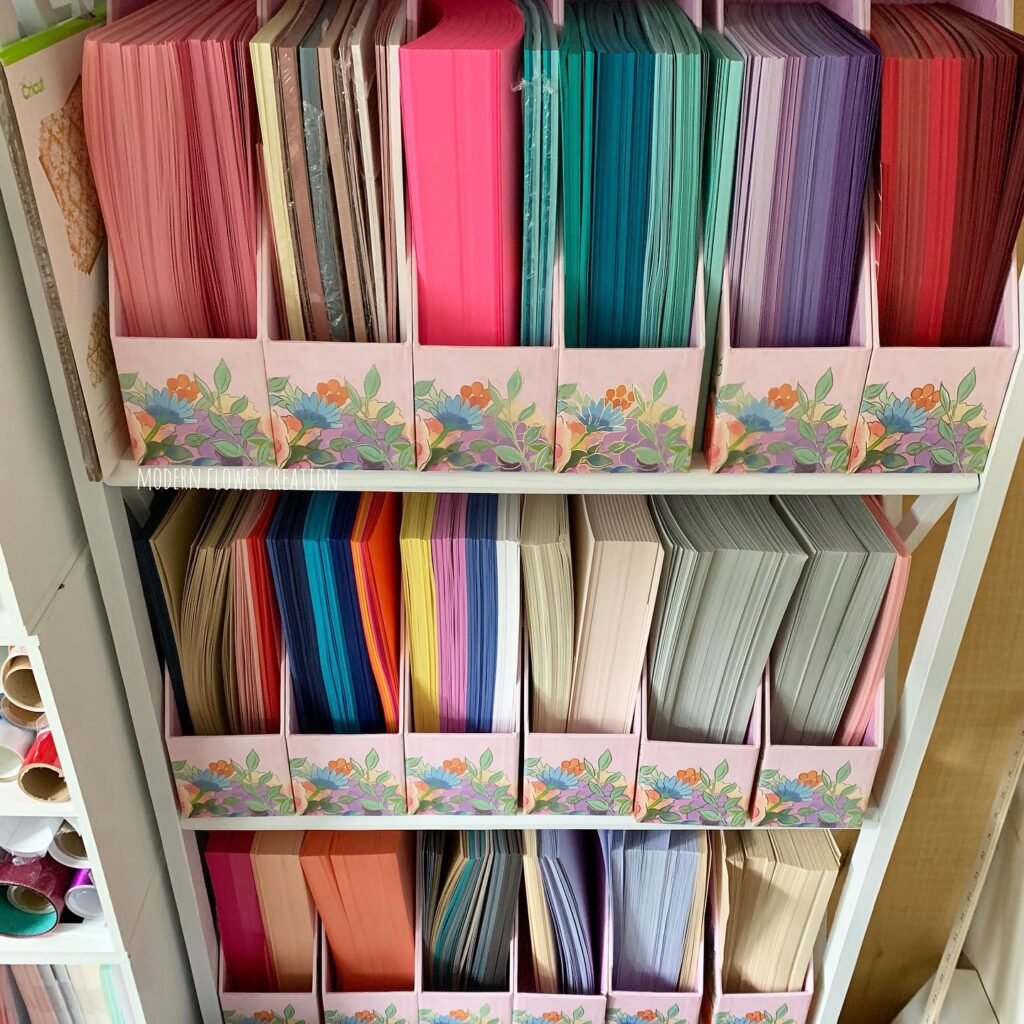
Flat stacks look tidy at first, but the sheet you need usually ends up at the bottom. Vertical storage lets you flip through cardstock, patterned paper, vinyl, felt sheets, and cutting mats without disturbing the rest of the collection.
Use magazine files, sturdy dividers, or narrow upright bins. Sort by material first, then by color or size only if that helps your projects. Keep scraps in one clearly limited folder so useful offcuts stay available without taking over an entire shelf.
Quick tip: Leave a small amount of empty space inside each magazine file or upright holder. Loosely packed sheets are easier to browse, remove, and return without bending corners or disturbing the rest of the collection.
6. Turn Fabric Into a Small, Visible Library
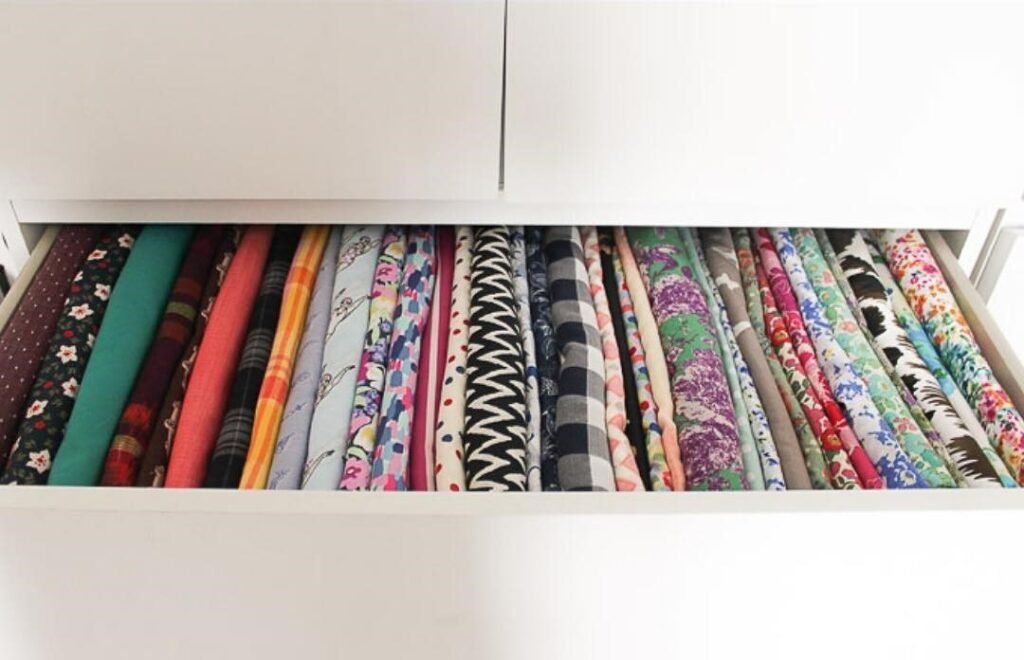
Fold fabric around uniform boards, comic-book boards, or pieces of clean cardboard so each print stands upright like a book. This creates a neat view of colors and patterns at a glance while preventing unstable piles from collapsing.
Group fabric by type, project, or color, depending on how you choose materials. Store bulky batting and large cuts separately so they do not crush smaller pieces. A labeled scrap basket can hold usable remnants, but give it a firm size limit.
Keep fabric manageable: Wrap folded fabric around matching boards or clean pieces of cardboard. Arrange the pieces upright by color, fabric type, or project so you can compare prints without pulling apart a tall, unstable stack.
7. Give Every Work-in-Progress Its Own Project Tote
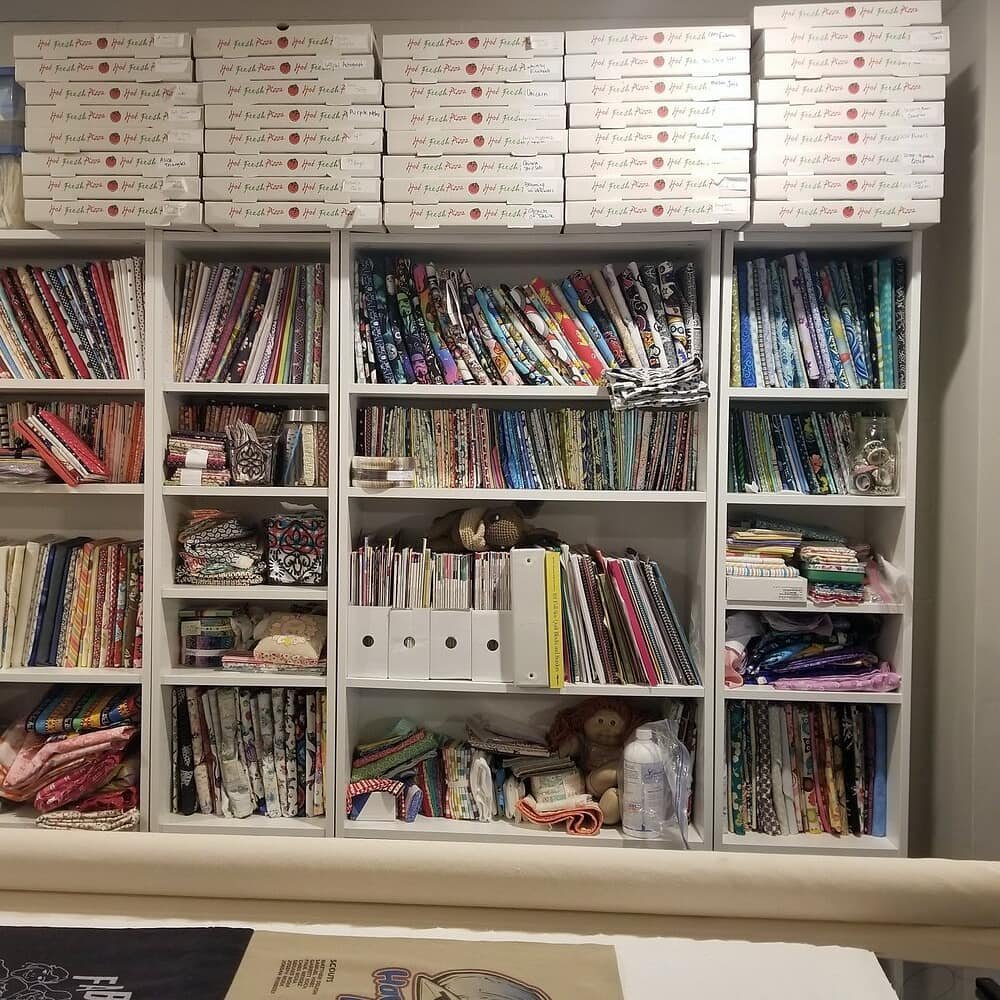
Unfinished projects create clutter because their tools, patterns, and materials stay spread across the closet. A handled tote or zippered project pouch keeps everything for one task together, even when you pause without losing your place for several busy days.
Add a simple card listing the next step, missing supplies, or deadline. This prevents forgotten projects from becoming mystery bins. Limit the number of active totes you allow at once, then finish, pause, or release a project before starting another.
Add a project card: Write down the project name, next step, missing materials, and any deadline. Place the card inside the tote so you can restart quickly without searching through the supplies to remember what needs to happen next.
8. Separate Everyday Stock From Refills
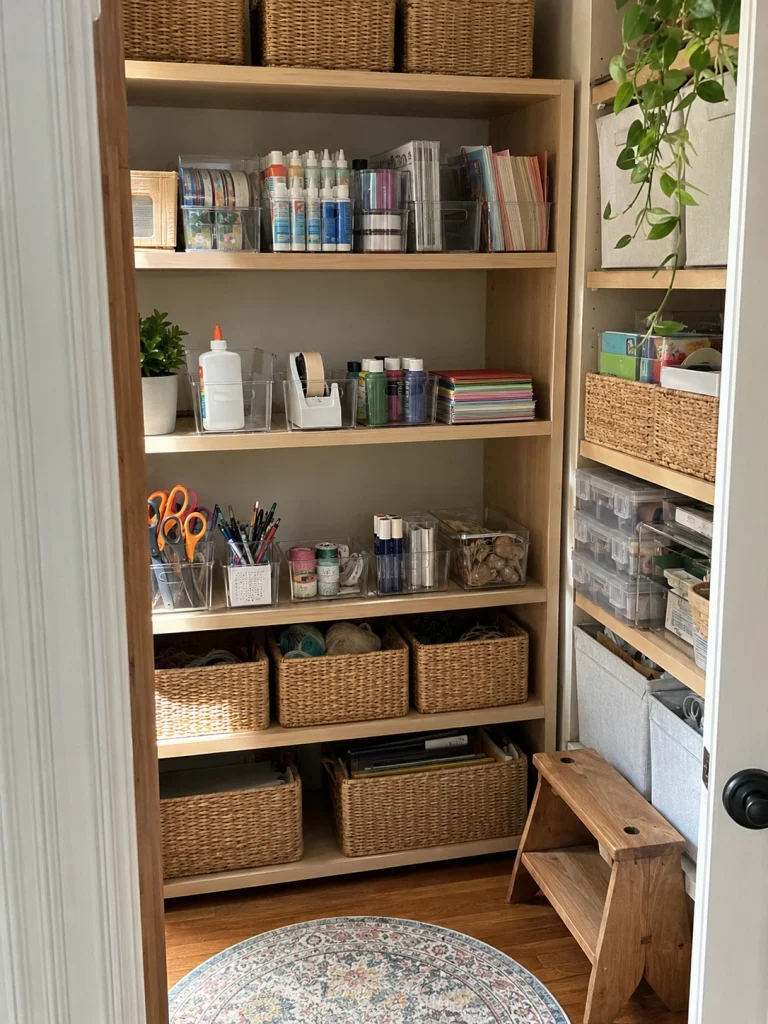
Keep one usable supply of glue, tape, paint, paper, and other basics in the main work zone. Store unopened refills together on a higher shelf or in a clearly marked backstock bin. This prevents duplicates from crowding the most convenient areas.
Review the refill zone before shopping so you do not buy what you already own. The same front-stock and back-stock idea works well in a neatly organized linen closet, where daily items stay accessible and extras remain contained.
Restocking tip: Keep only one open or ready-to-use version of each basic supply in the main craft zone. Store unopened replacements together and check that container before shopping to reduce duplicate purchases and crowded shelves.
9. Build a Slim Tool Station on the Door
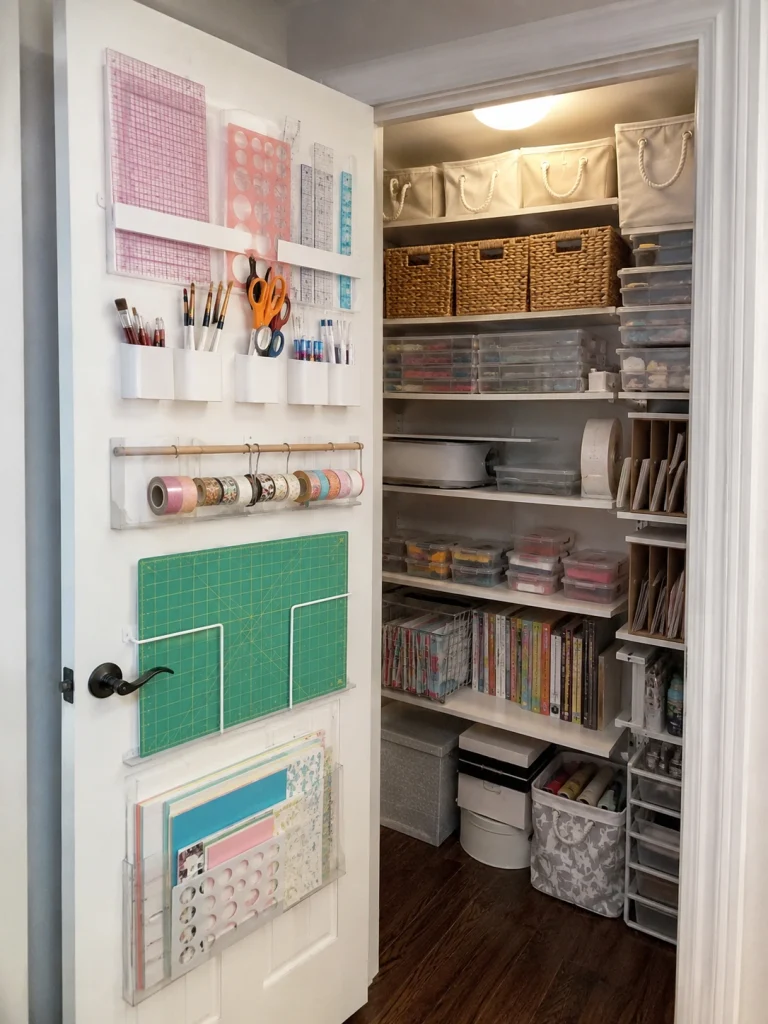
The inside of the closet door can hold lightweight tools without stealing shelf space. Use narrow pockets, small rails, clips, or removable hooks for rulers, scissors, brushes, cutting mats, and frequently used templates during every regular crafting session.
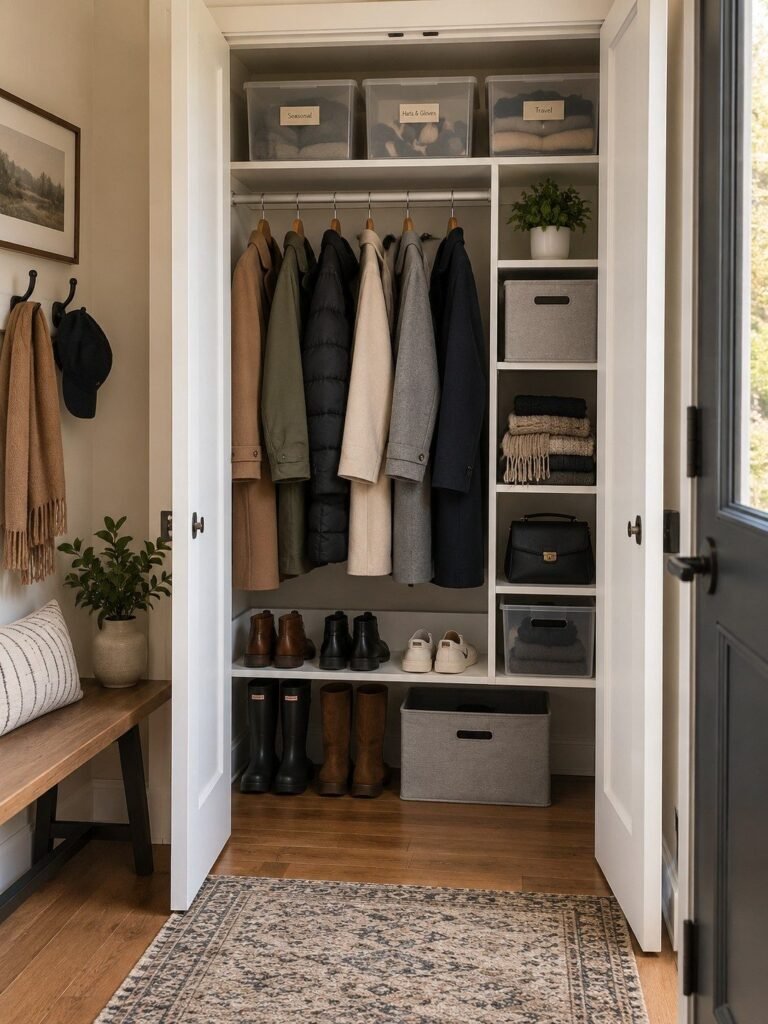
Keep the arrangement flat enough for the door to close without hitting shelves. Place sharp or delicate tools out of reach of younger children. For more ideas on using a door without creating clutter, see these coat closet organization strategies.
Before installation: Close the closet door and measure the space between the door and the shelves. Choose slim pockets or hooks that will not scrape containers, crush supplies, or prevent the door from closing properly.
10. Make a Portable Caddy for Everyday Tools
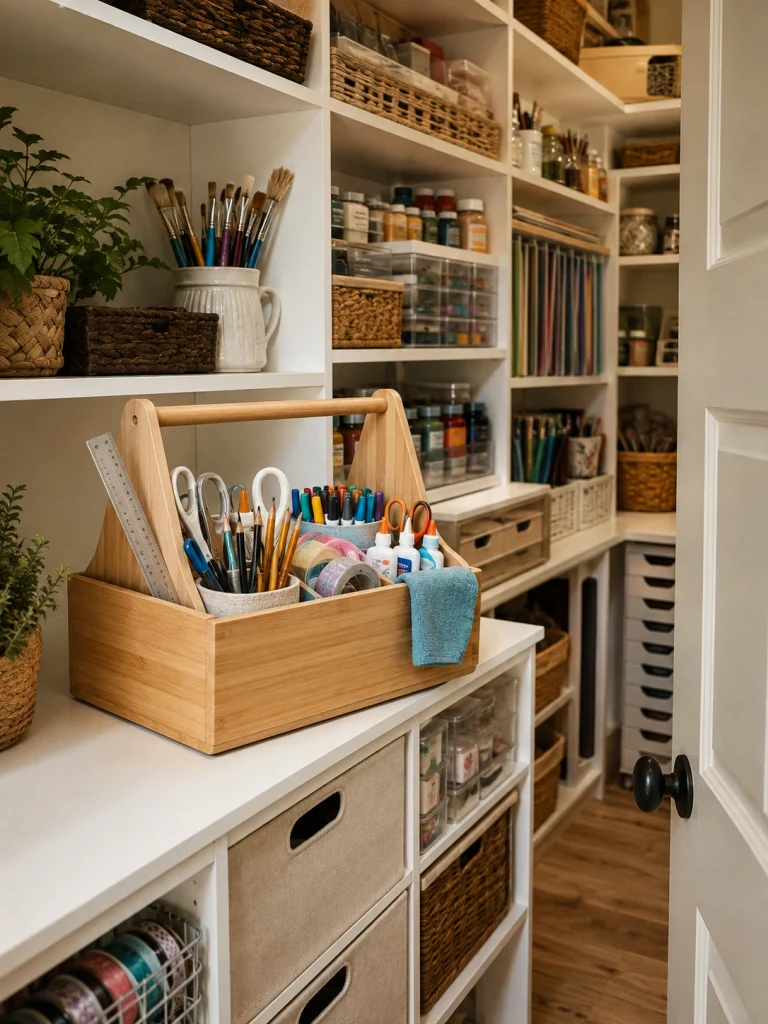
A portable caddy keeps your basic tools together when you craft at the kitchen table, desk, or floor. Fill it with the items used across several hobbies, such as scissors, pencils, a ruler, tape, glue, and a small cleanup cloth.
Return the whole caddy to one assigned shelf after each session. This is easier than carrying tools back individually, and it prevents everyday supplies from being duplicated in several rooms. Choose a caddy that is comfortable to lift and easy to wipe clean.
Keep the caddy simple:
- Scissors
- Pencils and markers
- Glue or tape
- A small ruler
- A cleanup cloth
Return specialty tools to their regular zones so the caddy stays light and easy to carry.
11. Create One Controlled Place for Scraps
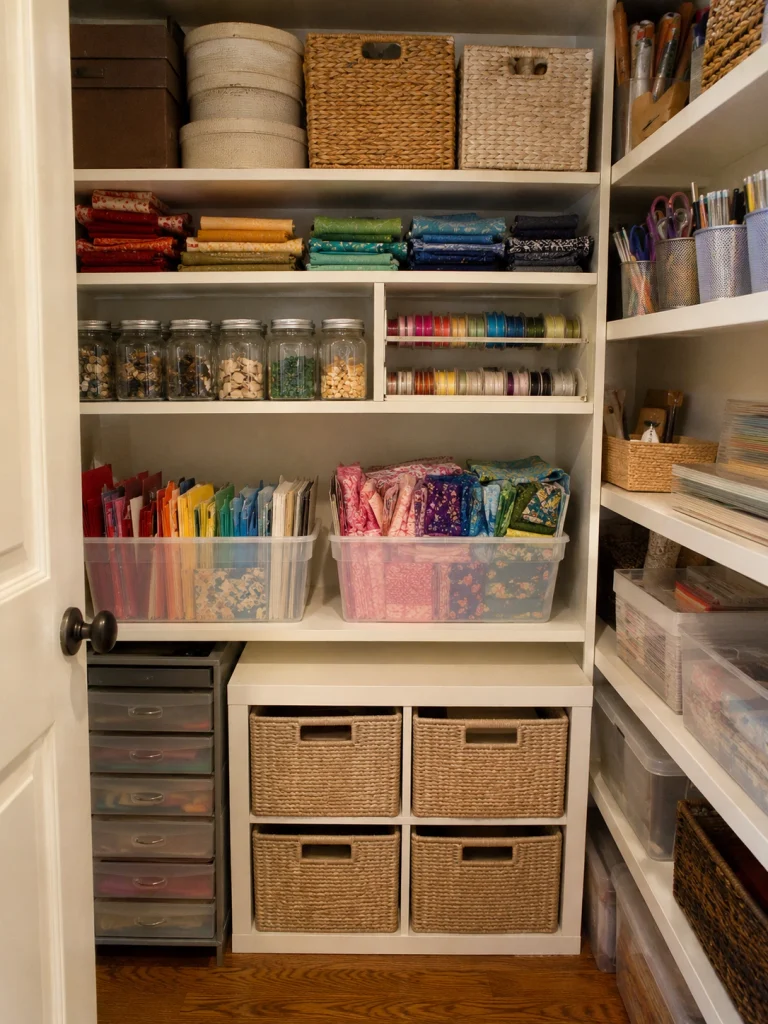
Scraps can be useful for future projects, but they quickly consume valuable space when every piece feels worth saving. Set one container for paper scraps and another for fabric remnants, then define the smallest size you are willing to keep.
Sort scraps by broad color families or material, not tiny categories. When a container is full, use the contents for a quick project, donate suitable pieces, or recycle what your local program accepts. A physical limit makes the decision easier.
Set a clear limit: Choose one container for paper scraps and one for fabric remnants. When either container becomes full, use the best pieces, donate suitable materials, or recycle what you no longer need before saving anything else.
12. Label for Fast Decisions, Not Just Appearance
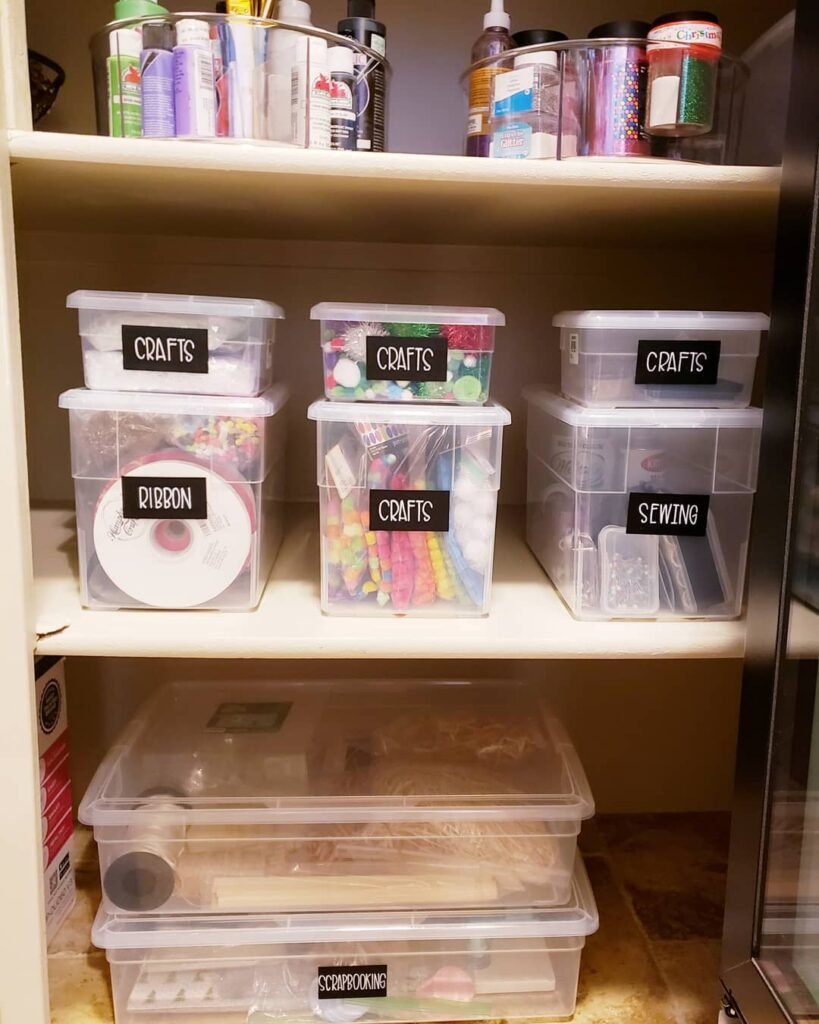
Labels should tell you where an item belongs without making you stop and think. Use plain category names such as “hot glue,” “watercolor,” “sewing tools,” or “holiday paper” rather than decorative names that may become unclear later.
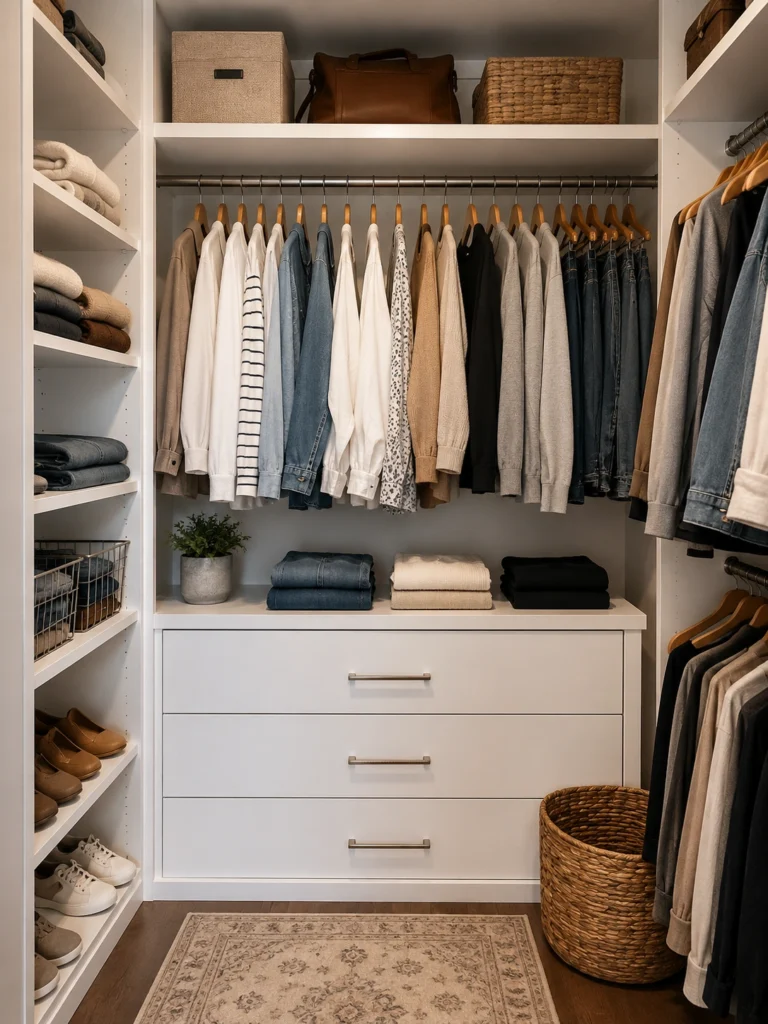
Add quantity details when useful, especially on refill bins and children’s supplies. Consistent labels also help family members return items correctly. Larger closets may need more detailed zones, and these small walk-in closet organizing ideas offer useful lessons on keeping many sections readable.
Labeling tip: Use clear names such as “watercolor supplies,” “hot glue,” or “holiday paper.” Avoid clever labels that may become confusing later. Removable or erasable tags work especially well for rotating projects and changing hobbies.
13. End Every Craft Session With a Five-Minute Reset
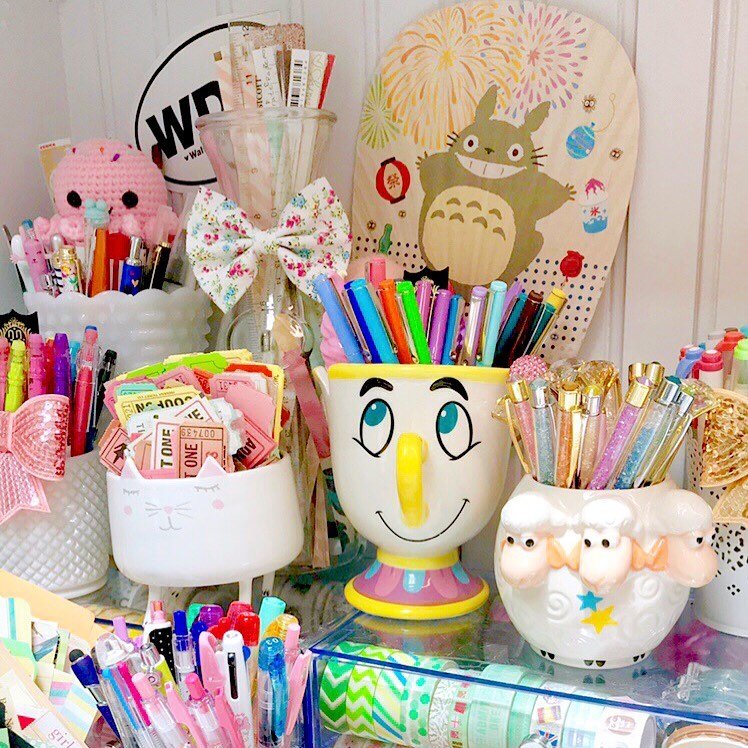
A craft closet stays organized through small resets, not occasional marathon cleanups. Before ending a session, return tools, close containers, place scraps in their bins, and put the current project into its tote before leaving the room.
Keep an empty “belongs elsewhere” basket near the closet. During the reset, place unrelated items there instead of leaving the craft zone to return each one immediately. Empty the basket after the closet is restored, and the routine will feel quick enough to repeat.
Follow the same order: Clear the work surface, return shared tools, contain the current project, sort usable scraps, and remove trash. Repeating one simple cleanup sequence makes the habit faster and prevents small messes from becoming overwhelming.
FAQs
How do I organize a craft closet on a small budget?
Sort and measure first. Reuse magazine files, jars, shoe boxes, cutlery trays, and sturdy gift boxes. Buy new storage only when it solves a specific problem.
What should I store at the top of a craft closet?
Use high shelves for light, rarely used items such as seasonal supplies and refills. Avoid storing heavy machines or breakable containers overhead. Label upper bins clearly.
How can I keep children’s craft supplies organized?
Place safe, washable supplies on low shelves in simple categories. Use picture labels for young children. Keep sharp tools and strong adhesives in an adult-only section.
Are clear bins or opaque bins better?
Clear bins make contents easy to see. Opaque bins create a calmer look and protect sensitive materials. Use each type where it works best.
How often should I declutter a craft closet?
Do a light review every few months and a deeper reset once or twice a year. Remove dried-out products, broken tools, and unwanted materials.