21 Utility Closet Organization Ideas That Make Every Inch Work
A utility closet gets crowded fast. Cleaning sprays, paper goods, tools, and bulky equipment compete for the same shelves.
These Utility Closet Organization Ideas make the space easier to use. The goal is to find one item without pulling out everything around it.
1. Start With a Full Closet Reset
Remove every item before adding bins or changing shelves. Sort everything into groups such as cleaning products, laundry supplies, tools, paper goods, and household backups. This shows how much room each category truly needs.
Discard empty packaging, dried products, and items you no longer use. Return misplaced objects to their proper rooms. Organizing only what belongs in the closet gives you a cleaner, more accurate starting point.
Quick tip: Keep a temporary box nearby for items that belong in other rooms. Finish sorting the closet first, then return those objects to their correct places so the organizing process does not become distracting.
RELATED:
- 20 Clever Storage Ideas for Small Spaces
- 20 Small Kitchen Storage Ideas for Tight Spaces
- 34 Backyard Ideas That Look Expensive
2. Divide the Space Into Clear Zones
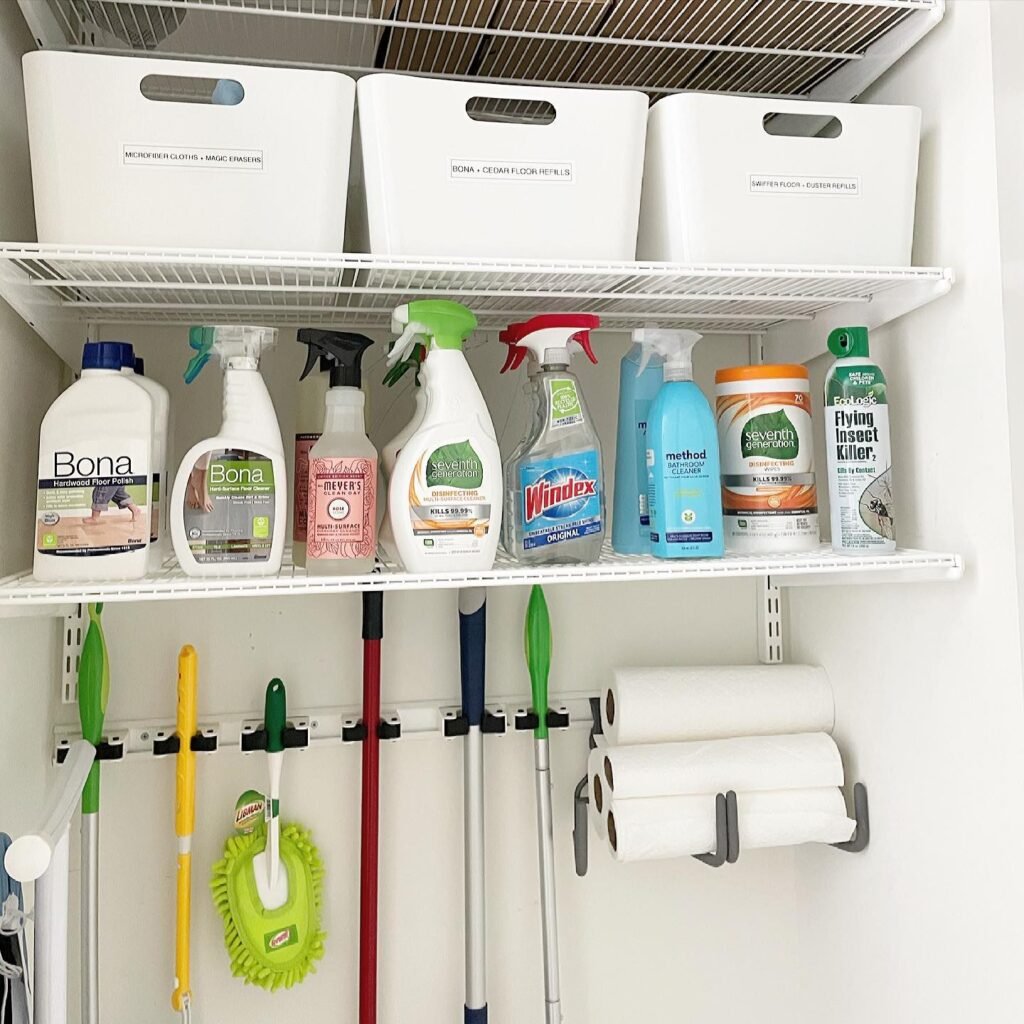
Give each part of the closet one job. Daily cleaners can sit at eye level, unopened refills can go above them, and heavy equipment should stay on lower shelves.
This zoning method also works when organizing a coat closet like a pro. Clear zones help everyone know where an item belongs, which makes the closet easier to reset after busy days. They also stop daily supplies from being buried behind rarely used backups.
Practical note: Use removable labels while testing your zones. After two weeks, adjust any category that feels inconvenient before replacing the temporary labels with permanent ones.
3. Build a Small Daily Cleaning Caddy
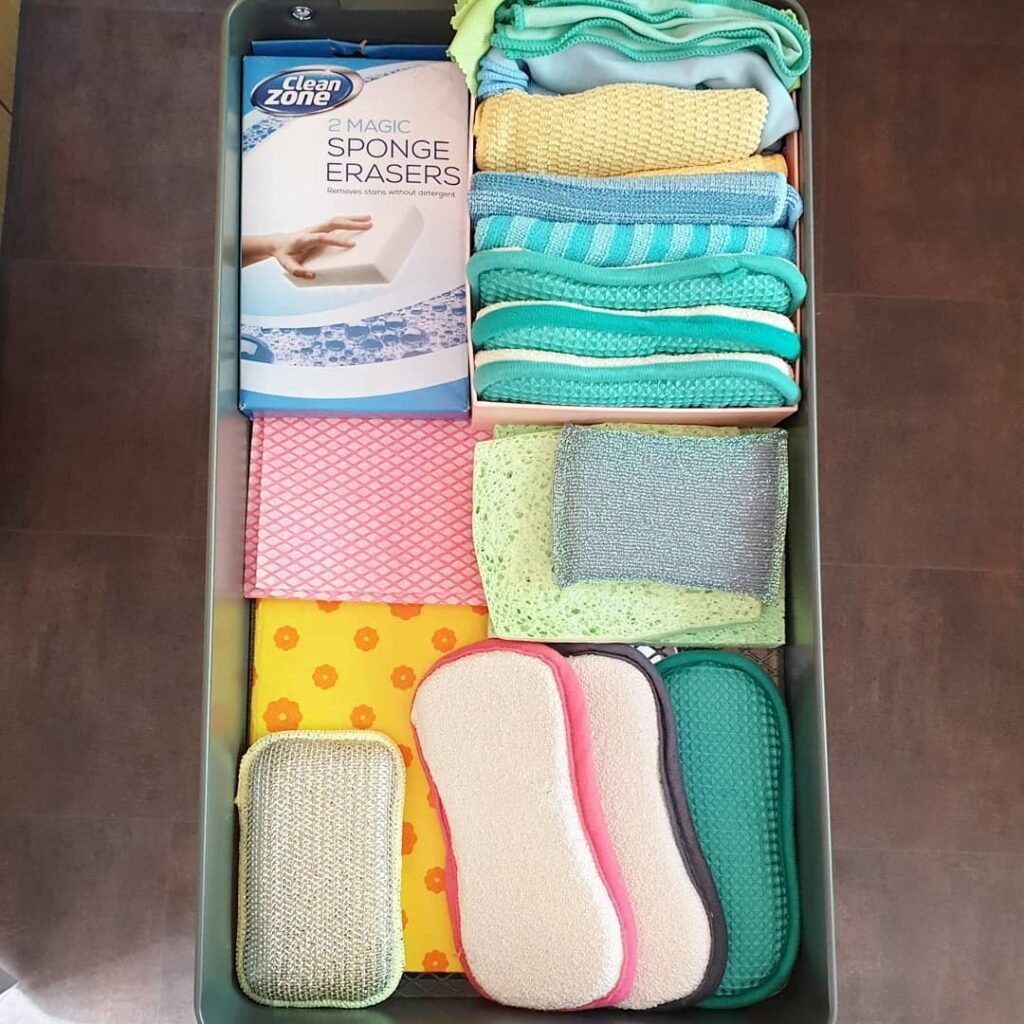
Place your most-used supplies in one handled caddy. Include basics such as surface cleaner, gloves, cloths, and a small scrub brush. Carrying one kit from room to room saves repeated trips.
Keep the caddy near the front of a middle shelf. Do not pack it with every product you own. A lighter kit is easier to grab, while specialty cleaners can remain in their assigned zone. Refill it after use, not before the next chore.
Quick tip: Choose a caddy with a comfortable handle and a washable base. Wipe it out regularly so small leaks, dust, and product residue do not build up underneath the bottles.
4. Give Unopened Refills One Shelf
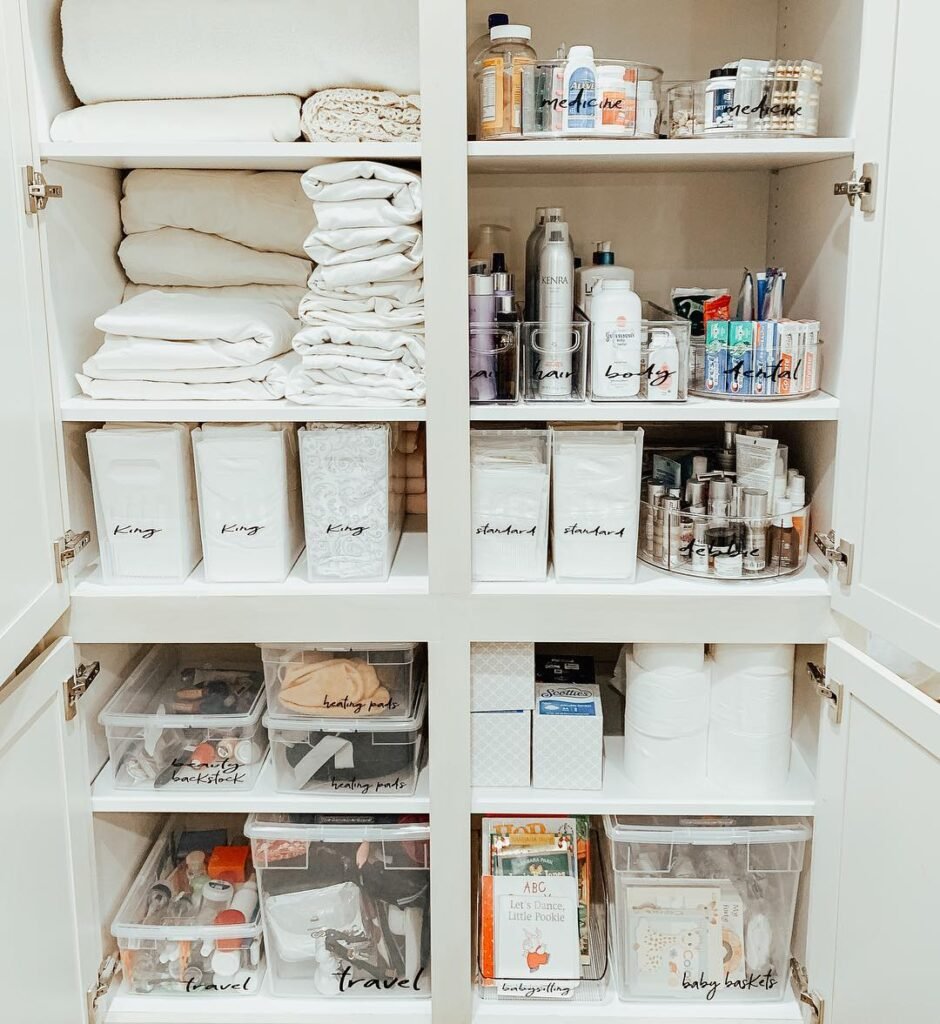
Choose one shelf for extra soap, trash bags, sponges, and unopened cleaning products. Keeping backups together makes stock easier to check and helps prevent duplicate purchases.
Use fixed containers or shelf sections to limit each category. This idea is especially helpful alongside other tiny closet organizing hacks. Put older supplies in front and new purchases behind them so nothing gets forgotten.
Practical note: Arrange refills by type and place the oldest products at the front. This simple rotation system helps you use existing supplies before opening newer purchases.
5. Place Liquids on Washable Trays
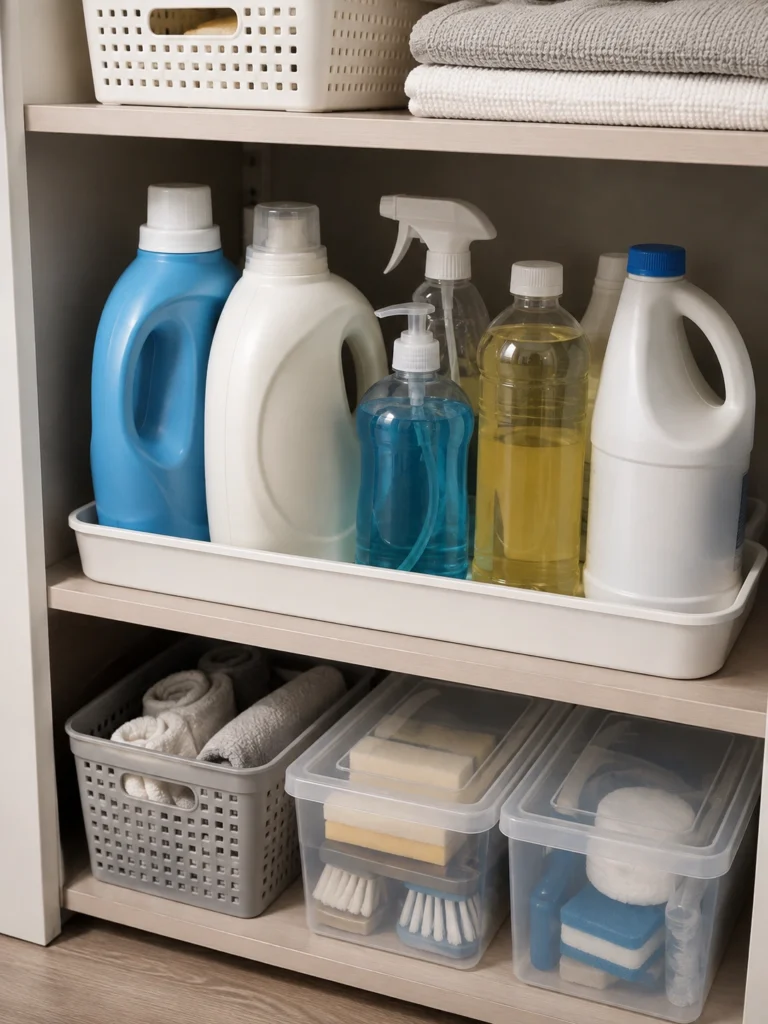
Bottles can drip even when their caps look secure. Set liquid products on a shallow washable tray with a raised edge, especially if the closet has wood shelving.
Choose a tray that slides out easily and keep labels facing forward. Leave enough space to inspect each bottle. A crowded row can hide a slow leak until it damages packaging or the shelf below. Group similar liquids together so a missing bottle is easy to notice.
Quick tip: Select trays with slightly raised edges to contain small leaks. Check underneath them once a month so hidden moisture does not remain against the shelf surface.
6. Use Narrow Wall Strips Carefully
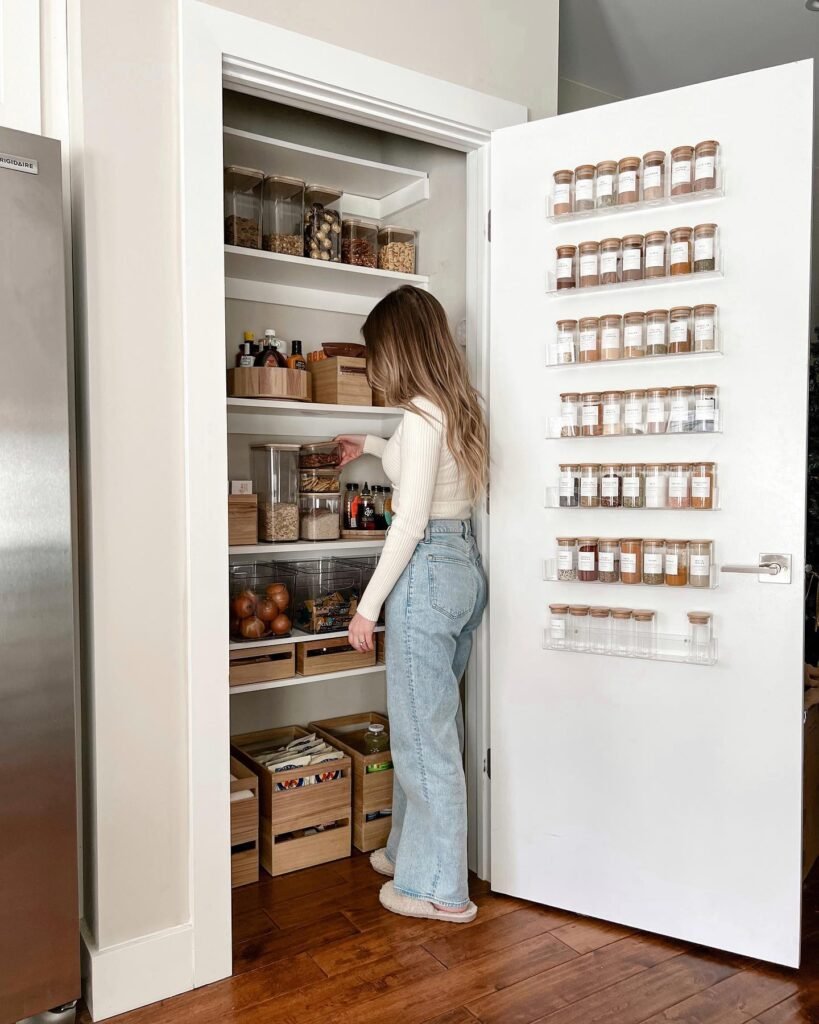
Look for unused wall space beside shelves or behind shallow equipment. Slim areas can hold dusters, folded reusable bags, extension cords, or a lightweight step stool.
For more ways to use vertical areas, see these space-saving closet wall storage ideas. Test each location with painter’s tape before mounting anything, then open and close the door to make sure the new storage will not block it. Keep heavier objects off narrow wall-mounted holders.
Practical note: Test wall storage locations with painter’s tape before installing anything. Make sure stored tools will not interfere with shelves, door hinges, or other frequently used items.
7. Assign Long-Handled Tools Fixed Spots
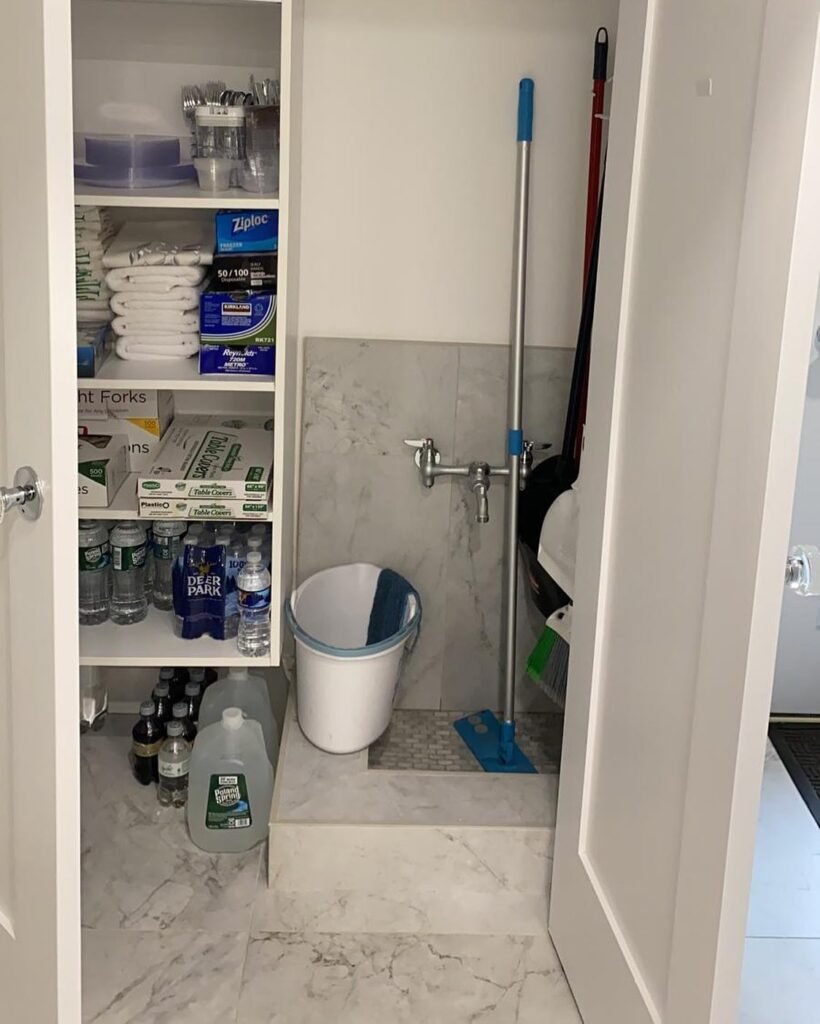
Brooms, mops, and floor brushes become frustrating when they lean in one loose pile. Give each tool a fixed upright position along one side of the closet.
Keep wet mop heads and cloths out until they are fully dry. Leave the floor below clear enough to sweep and inspect. This makes it easier to notice dust, leaks, or dropped supplies before they become a larger mess.
Quick tip: Label each holder for a broom, mop, or duster. Fixed positions make missing tools easy to notice and prevent household members from placing everything in one unstable pile.
8. Separate Linens From Cleaning Products
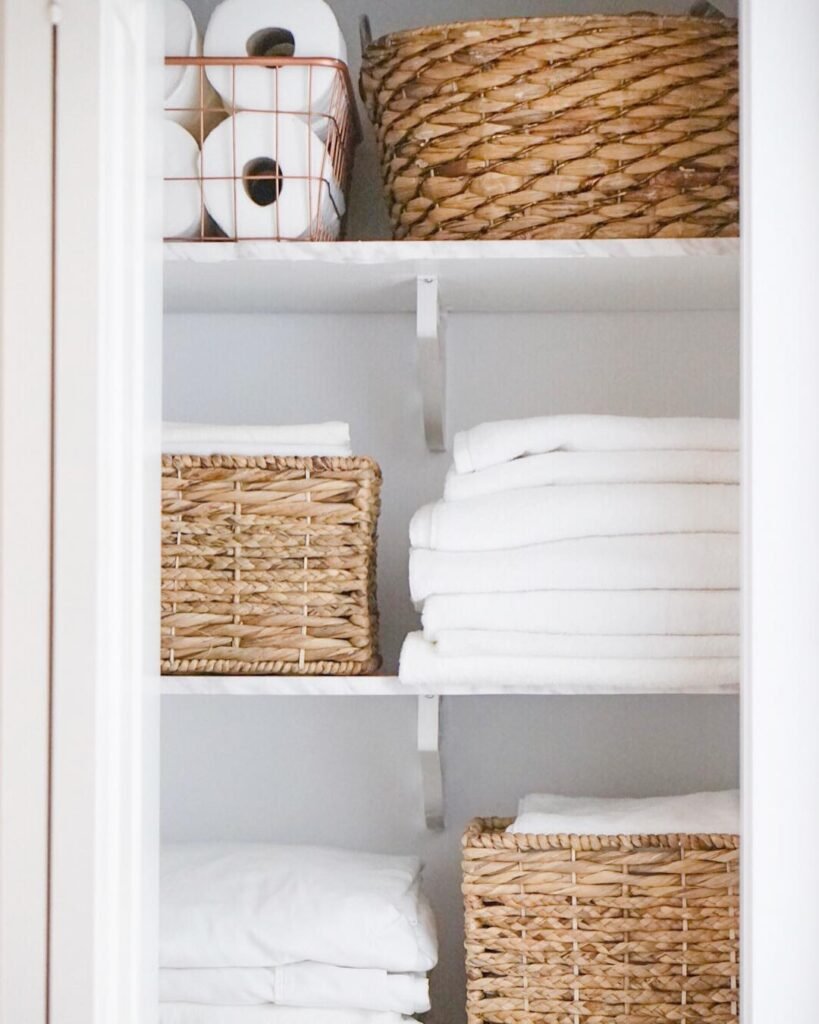
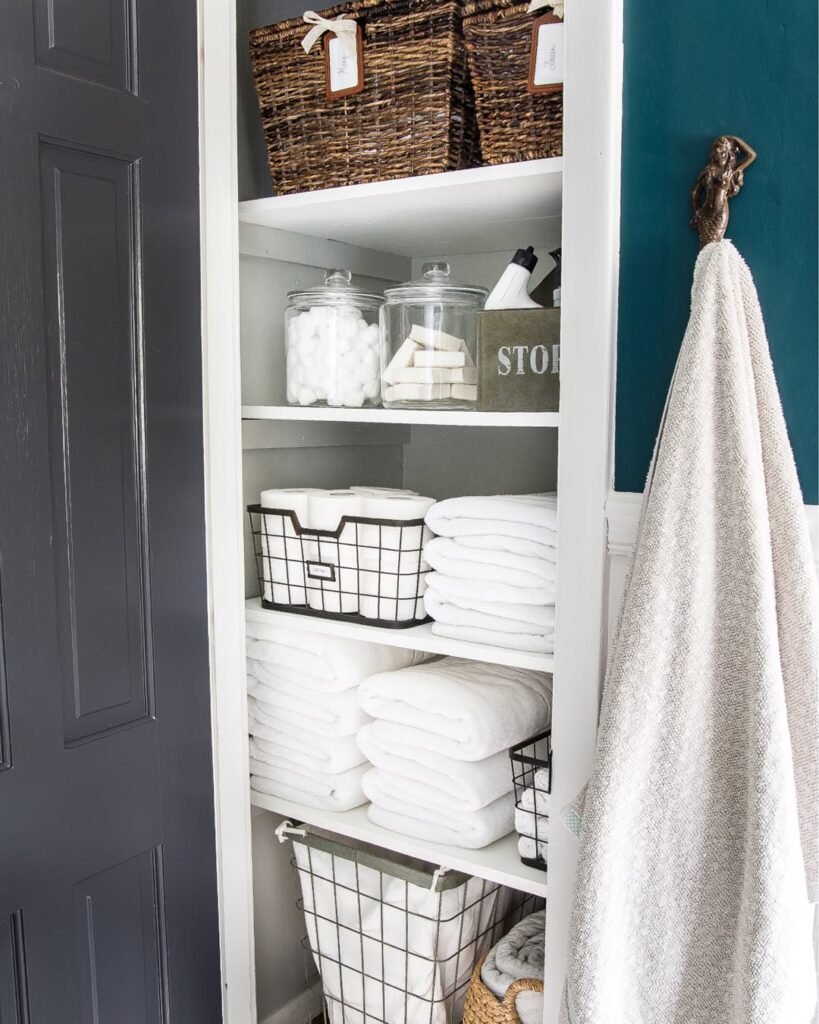
If the closet also holds towels or cleaning cloths, keep fabric on a different shelf from strong-smelling liquids. Closed fabric bins can offer extra protection from dust and spills.
A dedicated fabric section follows the same logic used in these smart linen closet organizing ideas. Build short, stable stacks that fit the shelf instead of forcing tall piles into a narrow opening. Keep each stack low enough to remove items without toppling it.
Safety note: Store towels and cloths above or away from liquid cleaners whenever possible. A closed bin provides another layer of protection from leaks, dust, and strong product smells.
9. Create a Two-Bin Rag System
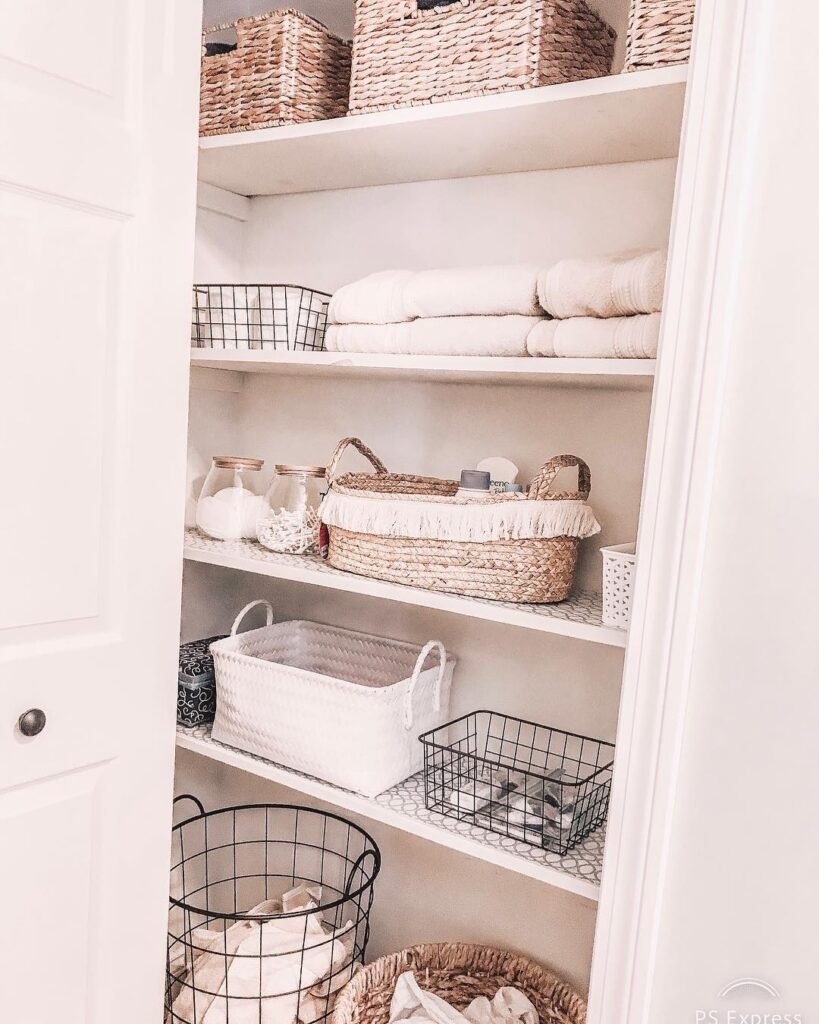
Use one small bin for clean rags and another for used, dry rags waiting to be washed. This simple split stops dirty cloths from returning to the clean stack.
Never seal damp rags inside a container. Hang them to dry first, then move them to the laundry bin. Keep the clean supply limited, and remove worn cloths whenever the bin becomes difficult to close. Wash the used group before it fills beyond the rim.
Quick tip: Choose two noticeably different bins so clean and used cloths are never confused. Let damp rags dry completely before placing them in the laundry container.
10. Store Tiny Parts in Shallow Containers
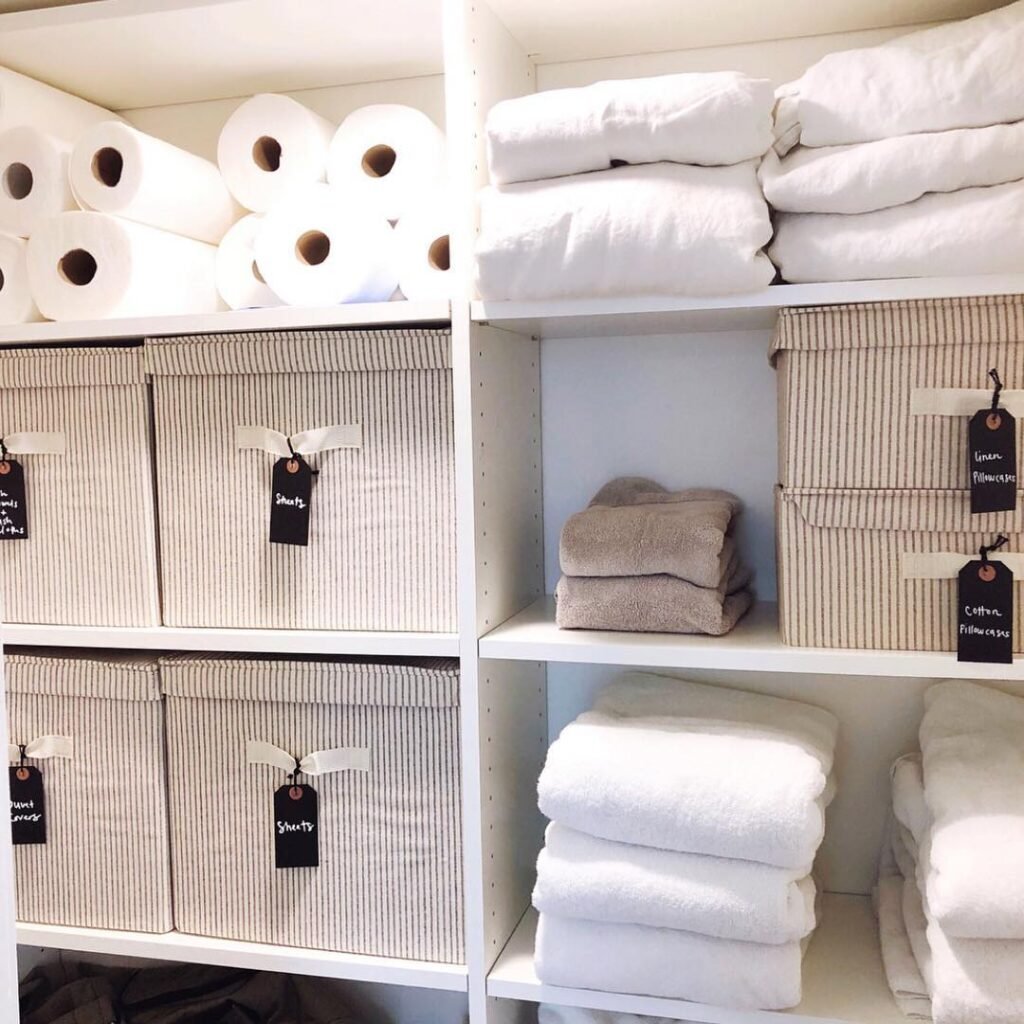
Batteries, hooks, tape, furniture pads, and spare hardware disappear inside deep baskets. Shallow containers keep these small items visible and easier to sort.
Avoid making a separate bin for every object. A few broad groups, such as repairs, hanging supplies, and replacement parts, are usually easier to maintain. Add plain labels that match what is actually stored inside. Transparent lids help only when they do not hide crowded layers underneath.
Practical note: Add small dividers inside each container to separate batteries, hooks, tape, and hardware. Avoid stacking several layers because items at the bottom will quickly be forgotten.
11. Set Up a Compact Repair Station

Reserve one small area for measuring tape, picture-hanging supplies, spare fasteners, and furniture pads. Keeping quick-fix items together prevents them from spreading across several shelves.
If hobby materials share the space, these ideas for how to organize a craft closet can help keep creative supplies separate from repair parts. Return large tools to the garage or workshop after each job. A shallow tray keeps loose pieces from rolling into nearby categories.
Quick tip: Include only tools needed for small household jobs. Return power tools and large equipment to their permanent storage area after use so the station remains easy to manage.
12. Arrange Paper Products in Rows
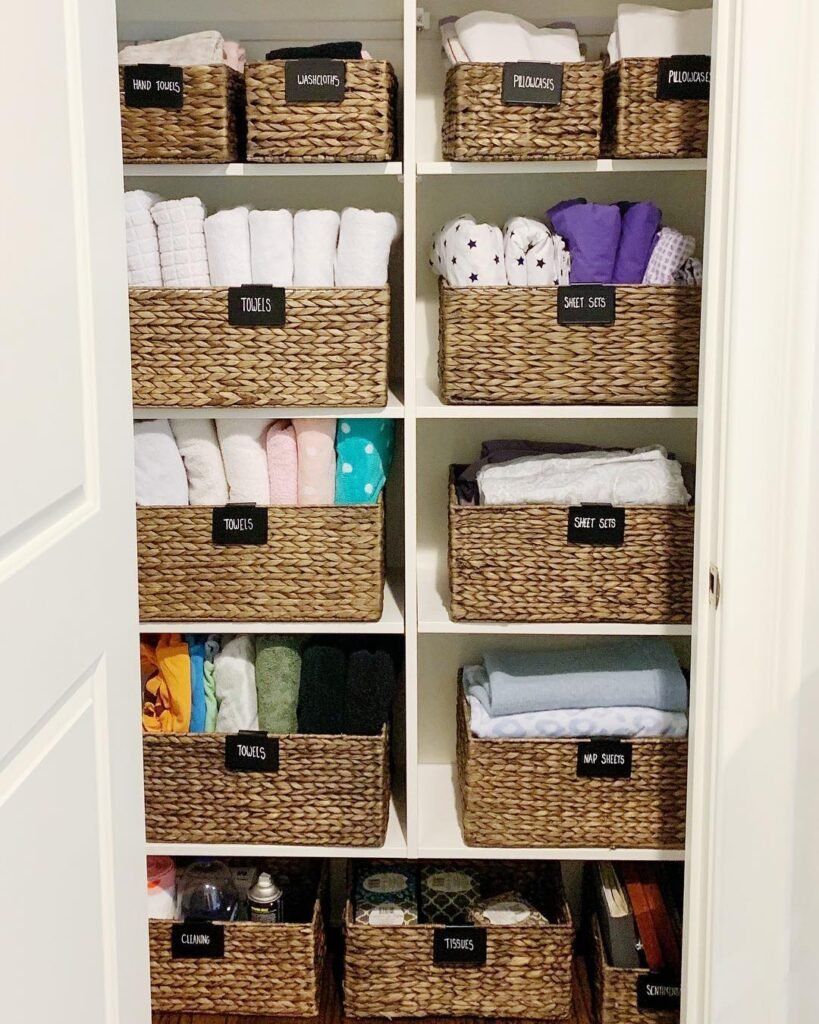
Paper towels, tissues, and toilet paper can quickly crowd a closet. Arrange them in countable rows so you can see what remains without opening every package.
Set a maximum amount the closet can hold comfortably. When that row is full, pause before buying more. A clear limit protects shelf space for other essentials and keeps oversized packs from spilling onto the floor.
Practical note: Decide how many packages your closet can comfortably hold. A clear storage limit helps prevent bulk purchases from taking over space needed for cleaning and maintenance supplies.
13. Add Risers Under Short Supplies
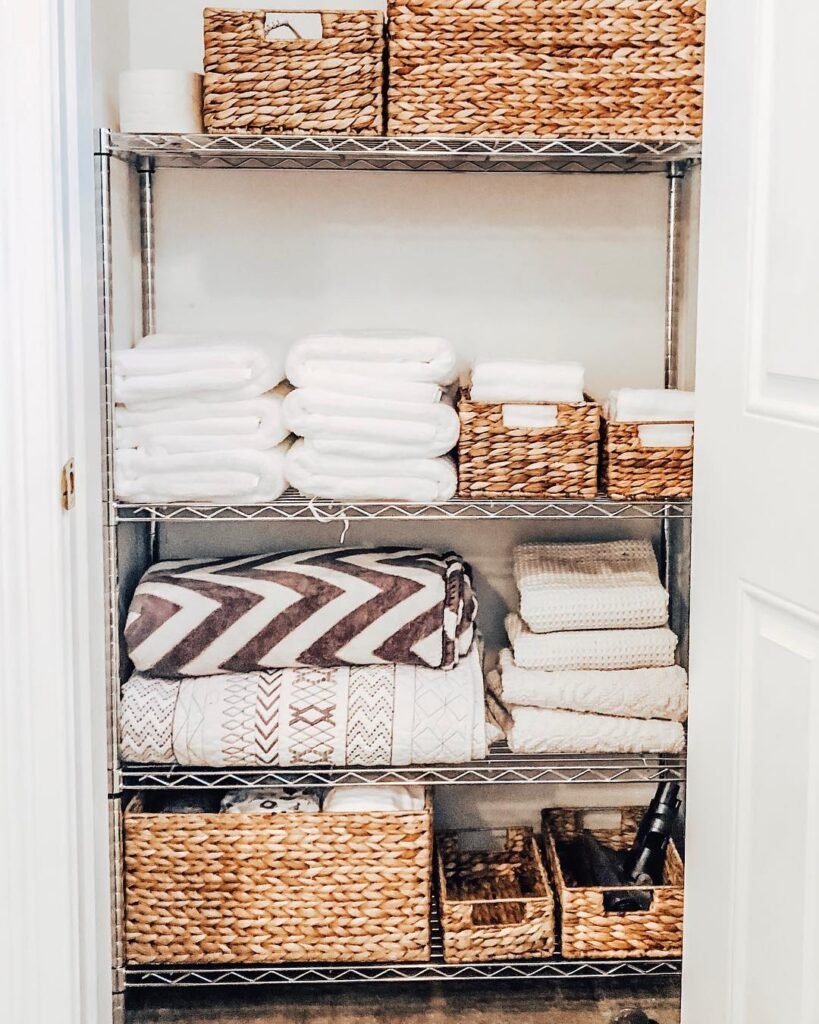
Tall shelf openings often leave wasted space above short bottles and tubs. A sturdy shelf riser can create a second level without requiring new built-in shelving.
Place taller products below and lighter refills above. Measure bottle heights before choosing a riser, and make sure the arrangement stays stable when one item is removed. Heavy liquids should never sit on a weak upper tier. Test the riser with your actual supplies before keeping the layout.
Quick tip: Measure the shelf and your tallest bottles before buying a riser. Leave enough vertical clearance to remove products without tilting them or knocking over the row behind.
14. Improve the Closet Lighting
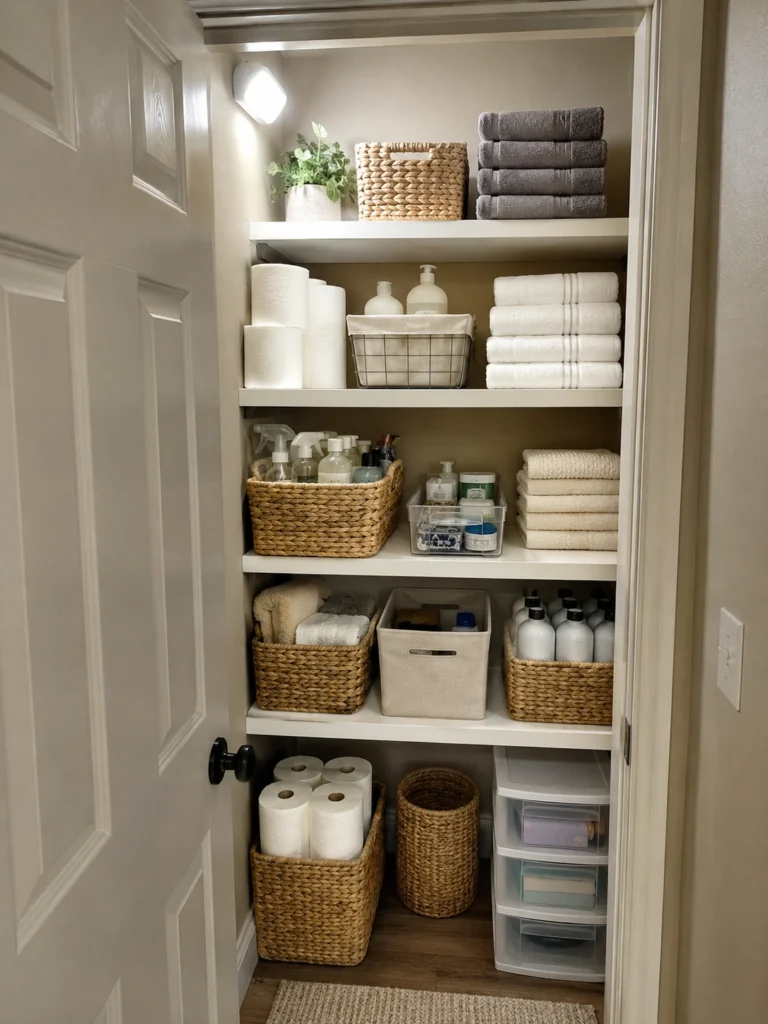
A dark closet makes labels, spills, and empty corners difficult to see. Add a safe closet-rated fixture or a battery-powered light where shelves will not block it.
Aim the light toward the center and lower areas, not only the top shelf. Better visibility supports faster cleanups and helps you notice low stock. Choose a switch or sensor that everyone in the household can reach. Better light also makes monthly cleaning faster and less likely to be skipped.
Practical note: Position the light where your body will not block it while you search. A motion-activated option can be useful when you enter the closet carrying supplies.
15. Keep Heavy Items at a Comfortable Height
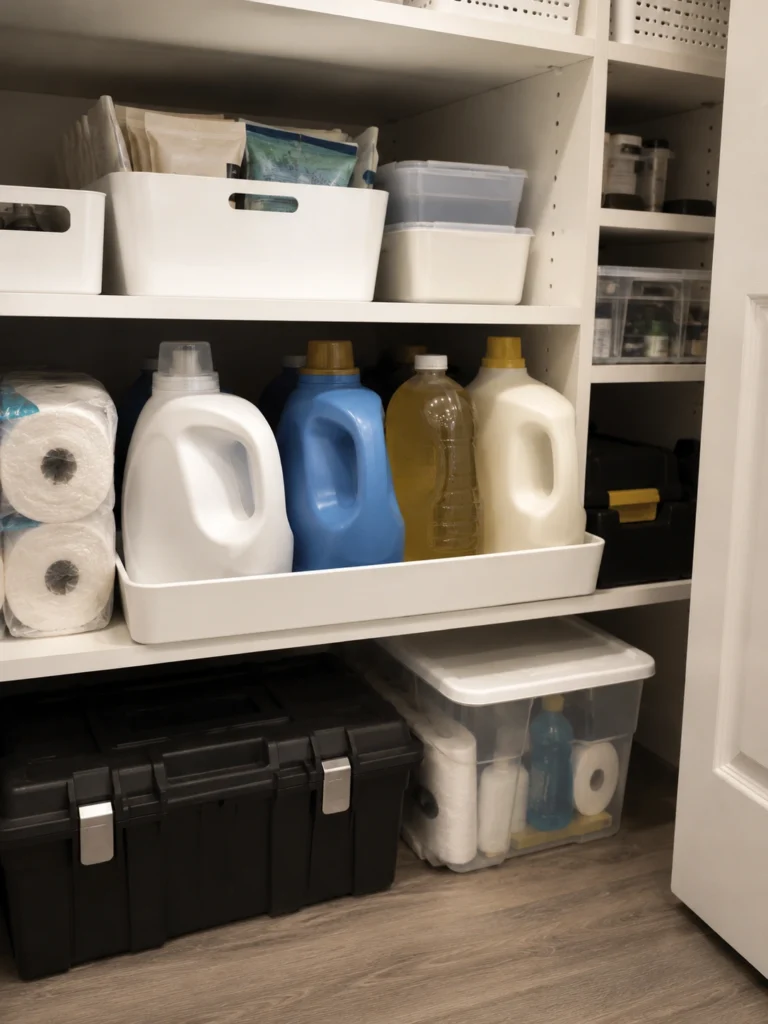
Store large detergent bottles, tool cases, and bulky refills between knee and waist height whenever possible. This reduces awkward lifting and keeps heavy objects away from overhead shelves.
Place the heaviest item near the front so you do not have to stretch across lighter supplies. Avoid weak bins with thin handles. A solid tray or open shelf is often safer and easier to inspect. Keep labels visible without lifting every container.
Safety note: Place large containers between knee and waist level whenever possible. Avoid storing them above shoulder height, where lifting and lowering them may feel awkward or unsafe.
16. Use the Top Shelf for Seasonal Items
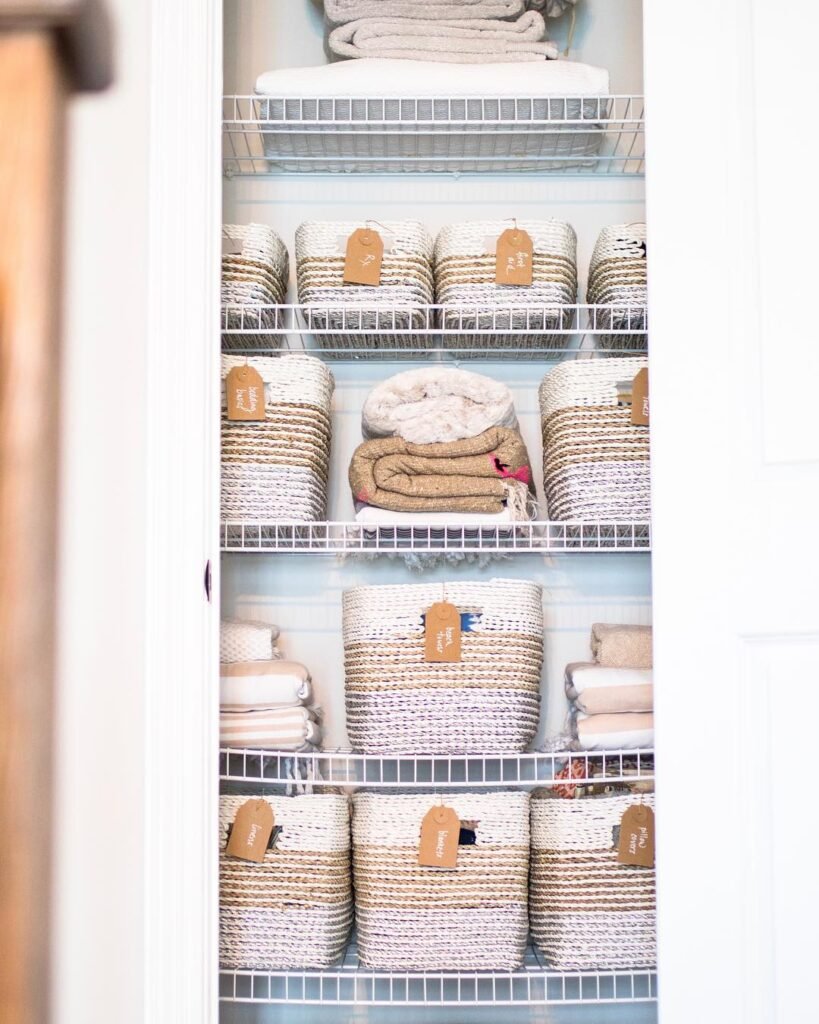
Reserve the highest shelf for light items used only a few times each year. Seasonal cleaning tools, picnic supplies, or holiday maintenance items can work well there.
Limit the shelf to a few defined categories instead of random overflow. Add a small list inside the door showing what is stored above eye level. That note prevents you from pulling down every container during a search.
Quick tip: Attach a simple contents list to the front of each seasonal container. You will know what is stored overhead without lifting every bin down to inspect it.
17. Add a Temporary Return Basket
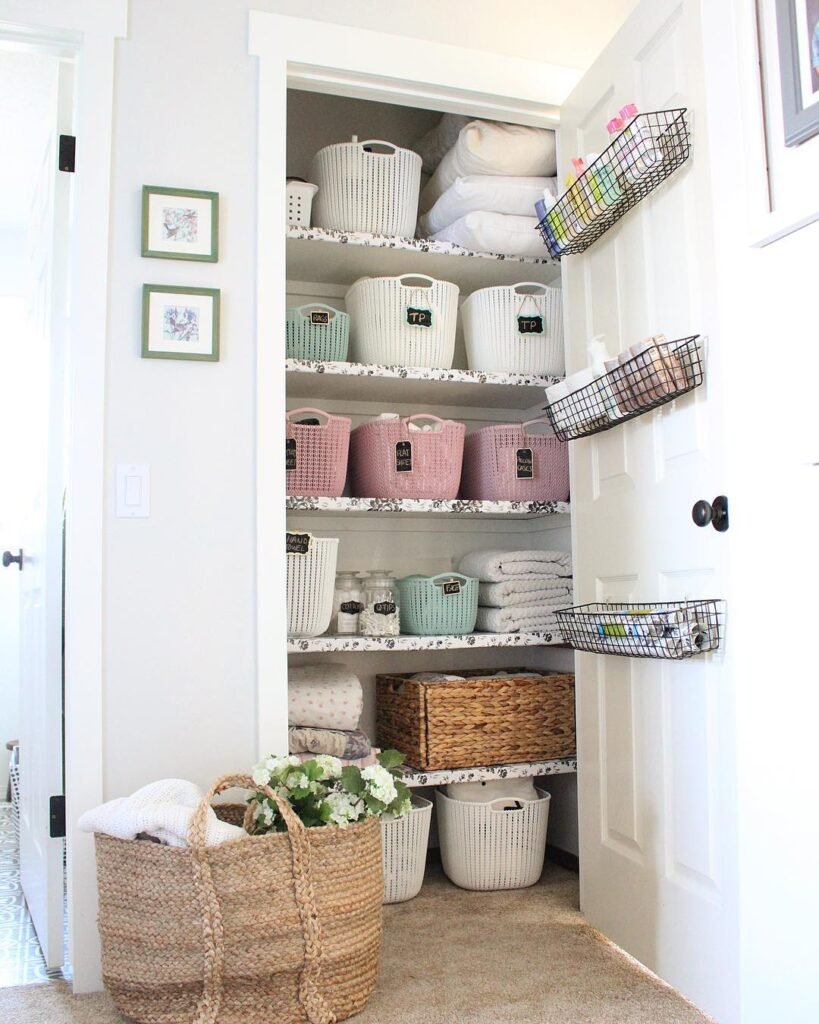
Place one small basket near the entrance for objects that belong in another room. A stray screwdriver, pet item, or light bulb can wait there until your next household reset.
Empty the basket on the same day each week. Keep it small so it cannot become permanent junk storage. This gives misplaced items a temporary home without interrupting a quick closet cleanup. Do not let it become a second junk drawer.
Practical note: Choose a small basket rather than a large hamper. Limited space encourages regular emptying and prevents the basket from turning into another permanent clutter collection.
18. Write Specific, Useful Labels
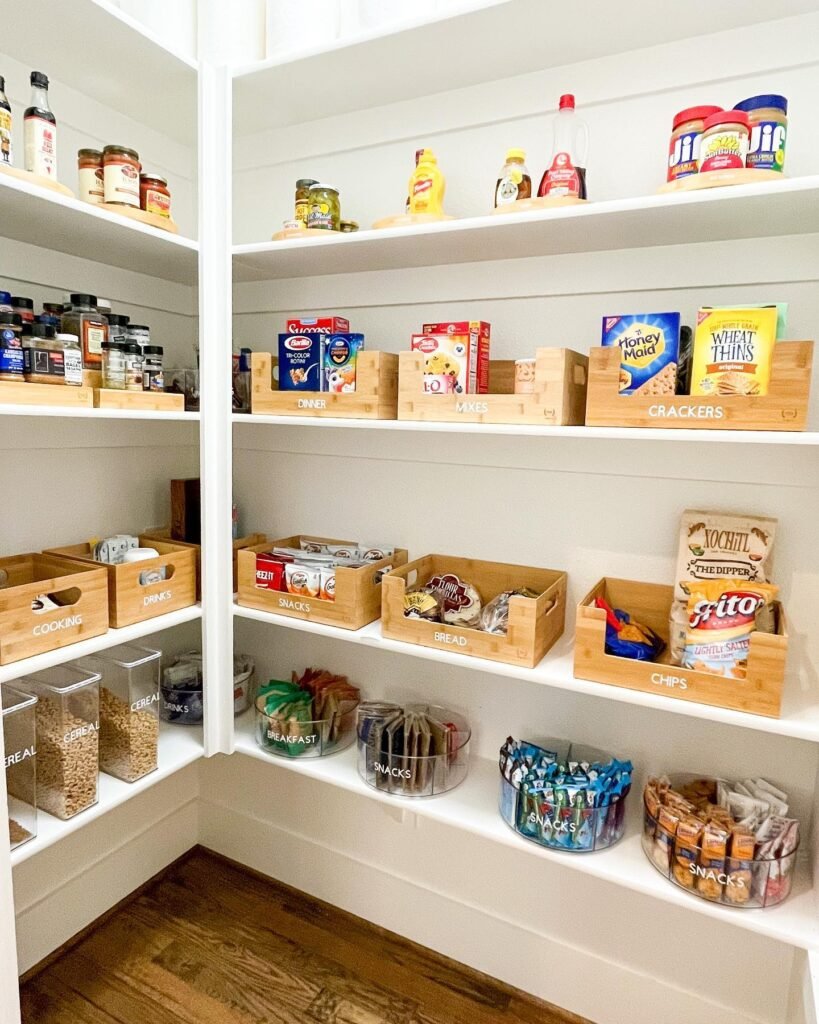
Labels should tell people exactly what belongs in a space. Replace vague words such as “miscellaneous” with clearer phrases such as “floor cleaning,” “unopened refills,” or “light bulb replacements.”
Place labels where they can be read without moving a container. Change them when the contents change. If a labeled category remains empty for months, remove it and give the shelf to something your household actually uses. Simple wording works better than decorative labels nobody understands.
Quick tip: Use labels that describe the exact category, such as “floor cleaners” or “spare light bulbs.” Clear wording makes the system easier for every household member to follow.
19. Leave a Little Open Shelf Space
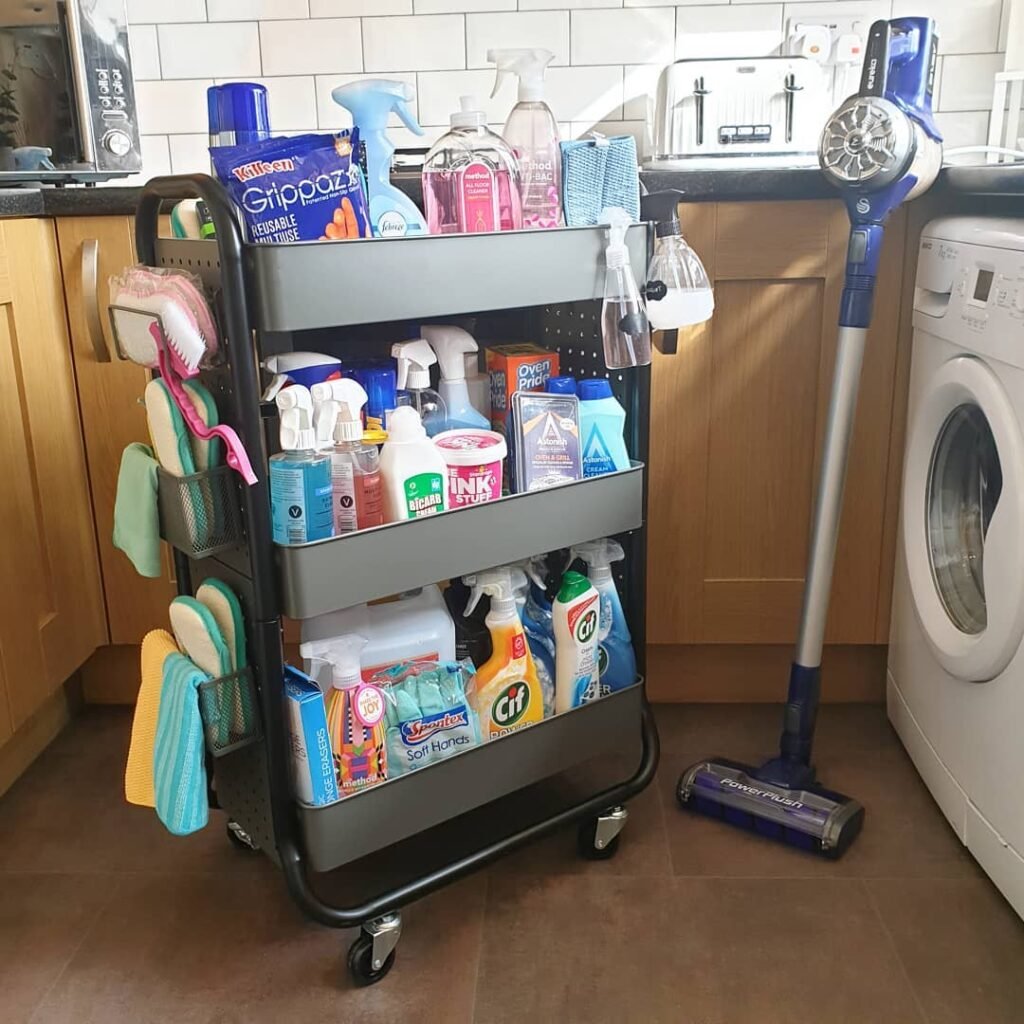
Do not fill every shelf from edge to edge. A small gap allows containers to slide out and gives new supplies room until your next reset.
When the open space disappears, check for duplicates, forgotten products, and items that belong elsewhere. A closet with a little breathing room is usually easier to maintain than one packed to its absolute limit. The gap also helps during shopping weeks when stock briefly increases.
Practical note: Aim to leave roughly one hand-width of open space on busy shelves. This makes containers easier to remove and gives temporary purchases somewhere to sit until your next reset.
20. Post a Restocking List Inside the Door
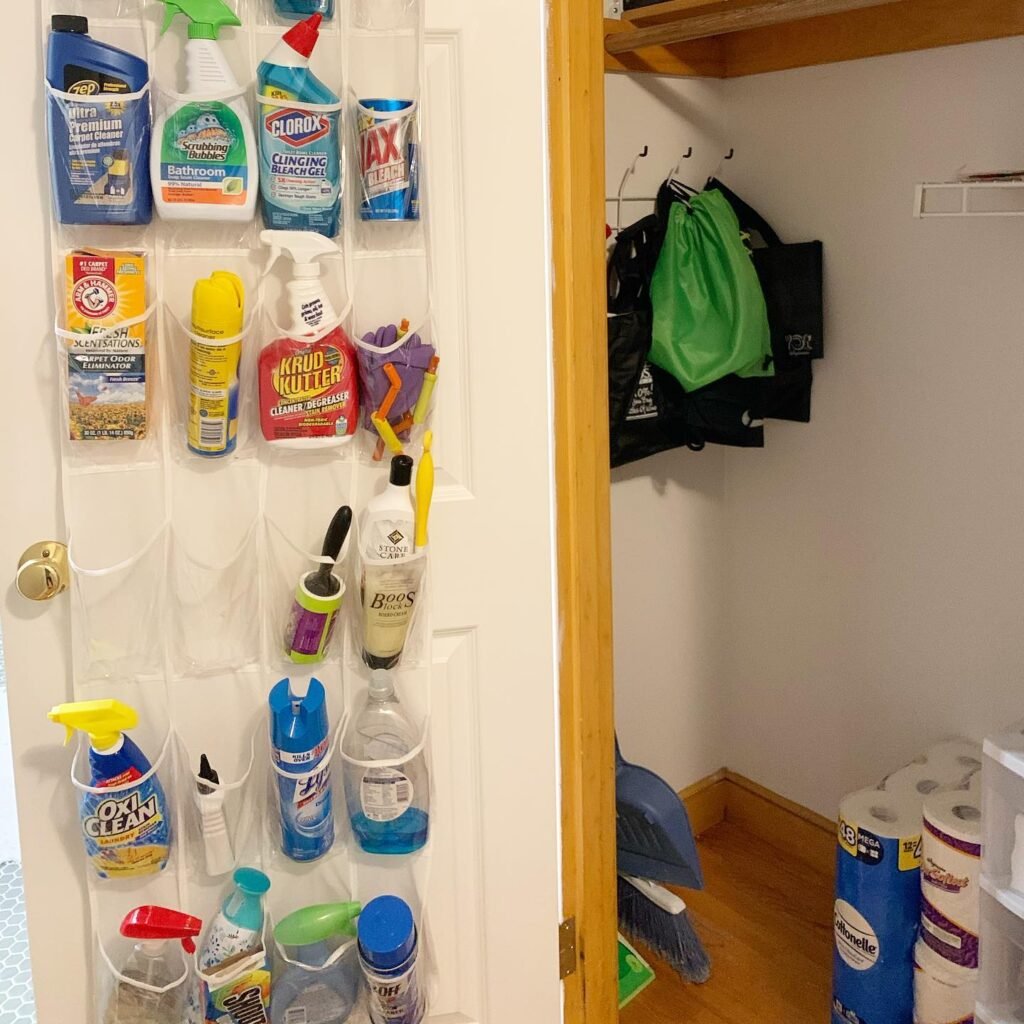
Keep a short reusable shopping list inside the closet. Write down a product when you open the final backup, which gives you time to replace it without buying too early.
Use a notepad, small whiteboard, or shared household list. Include only products normally stored in the closet. A focused system helps reduce forgotten essentials, duplicate purchases, and loose reminders around the house. Review the list before shopping so old notes do not linger.
Quick tip: Write an item down when you open the final backup, not when the product is completely gone. This creates enough time to replace essentials without overstocking.
21. Plan a Ten-Minute Monthly Reset
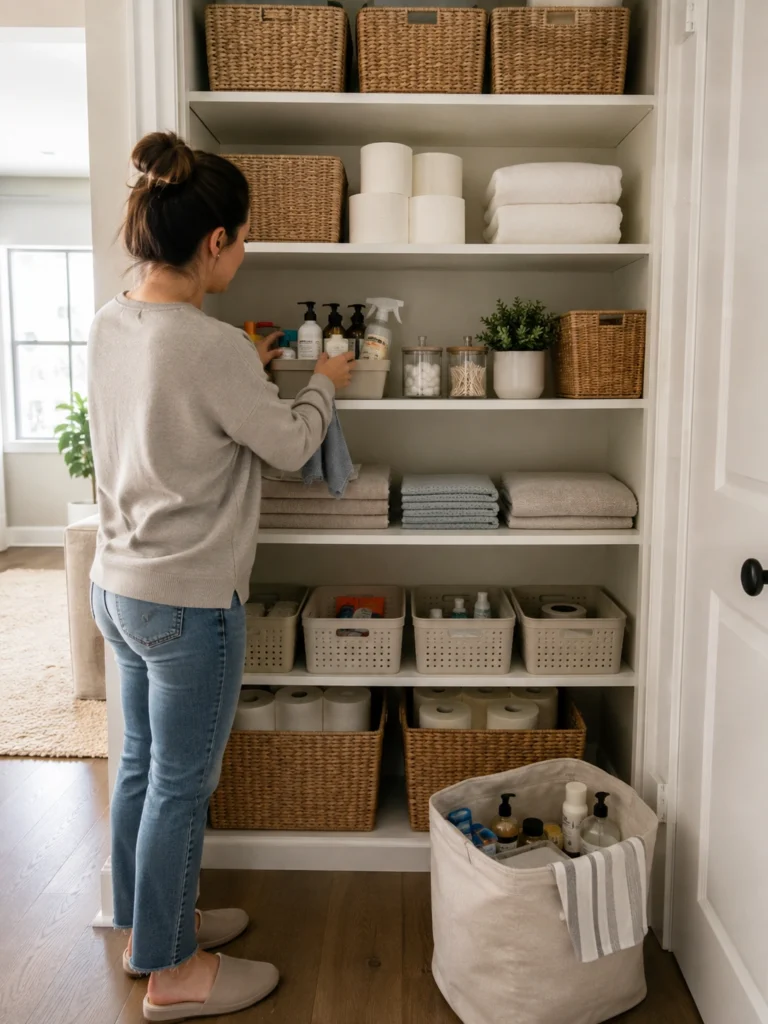
Set aside ten minutes each month to face labels forward, return misplaced items, wipe trays, and check stock levels. Small resets prevent the closet from becoming chaotic again.
Focus on function instead of a perfect appearance. If one category keeps overflowing, change its location or limit. The best system is the one your household can follow on an ordinary, busy day.
Practical note: Set a repeating calendar reminder for the same day each month. During the reset, wipe one shelf, remove expired products, return misplaced items, and update the restocking list.
FAQs
What belongs in a utility closet?
Store cleaning supplies, paper goods, backups, small repair items, and cleaning tools. Keep only items that fit safely.
How do I organize a tiny utility closet?
Give daily items the easiest shelves. Use shallow containers and narrow wall space. Keep some room open.
How often should I reset the closet?
Reset monthly and review deeply two or three times a year. Remove old products, wipe shelves, and adjust categories.
Should cleaning products go high or low?
Follow product storage instructions and consider household safety. Keep heavy containers off overhead shelves and bottles upright.
How can the closet stay organized?
Use clear zones, simple labels, and fixed limits. Make returning items easy, then reset monthly.